The Inspiration
A while ago, I bought some skeins of rustic yarn on sale and had been wondering for some time what to do with them.
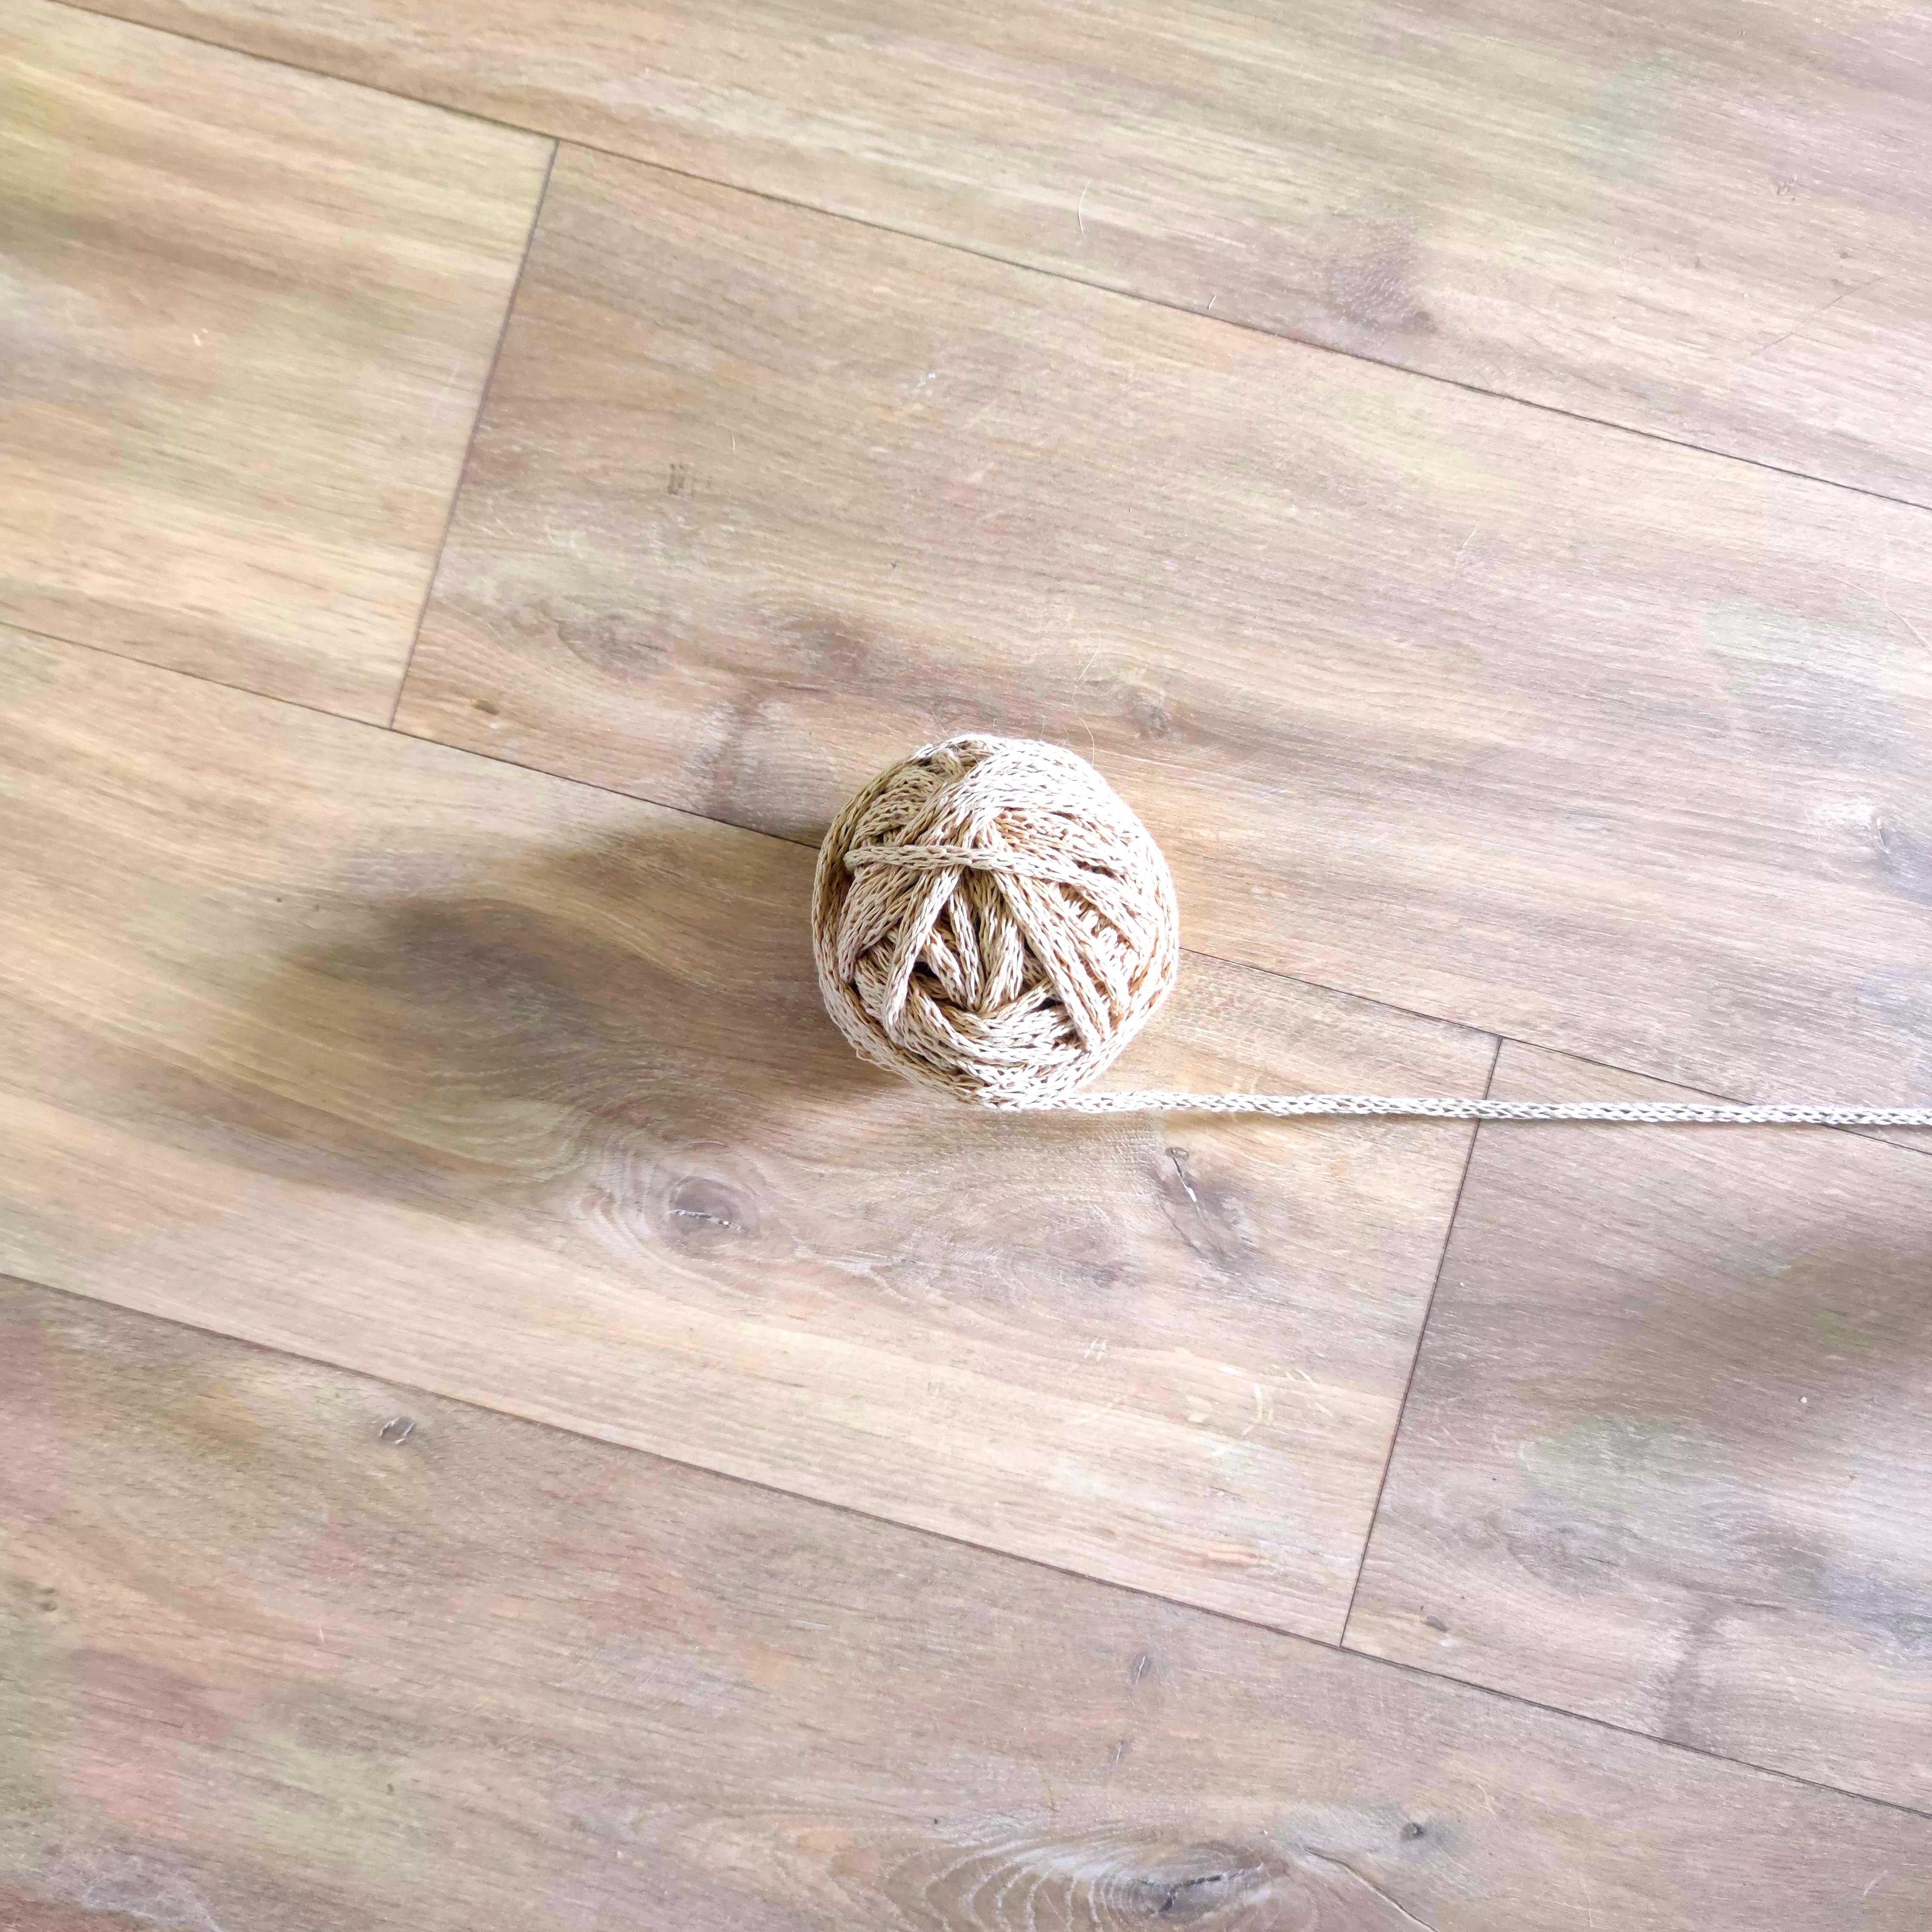
While working on the Thornhill scarf pattern this winter, I reacquainted myself with the knitting spool, a very handy tool. I remembered that it was a good way (although very time-consuming) to vary the thickness of a yarn to work with it differently.
As the idea slowly took shape, a thought came to me this summer: what if I tried making cords with a simple yarn to work it with a large crochet hook...
Bag designs in raffia or natural materials have made a big comeback over the past few seasons, and after seeing so many round crocheted bags in clothing store windows, I decided to go for it:
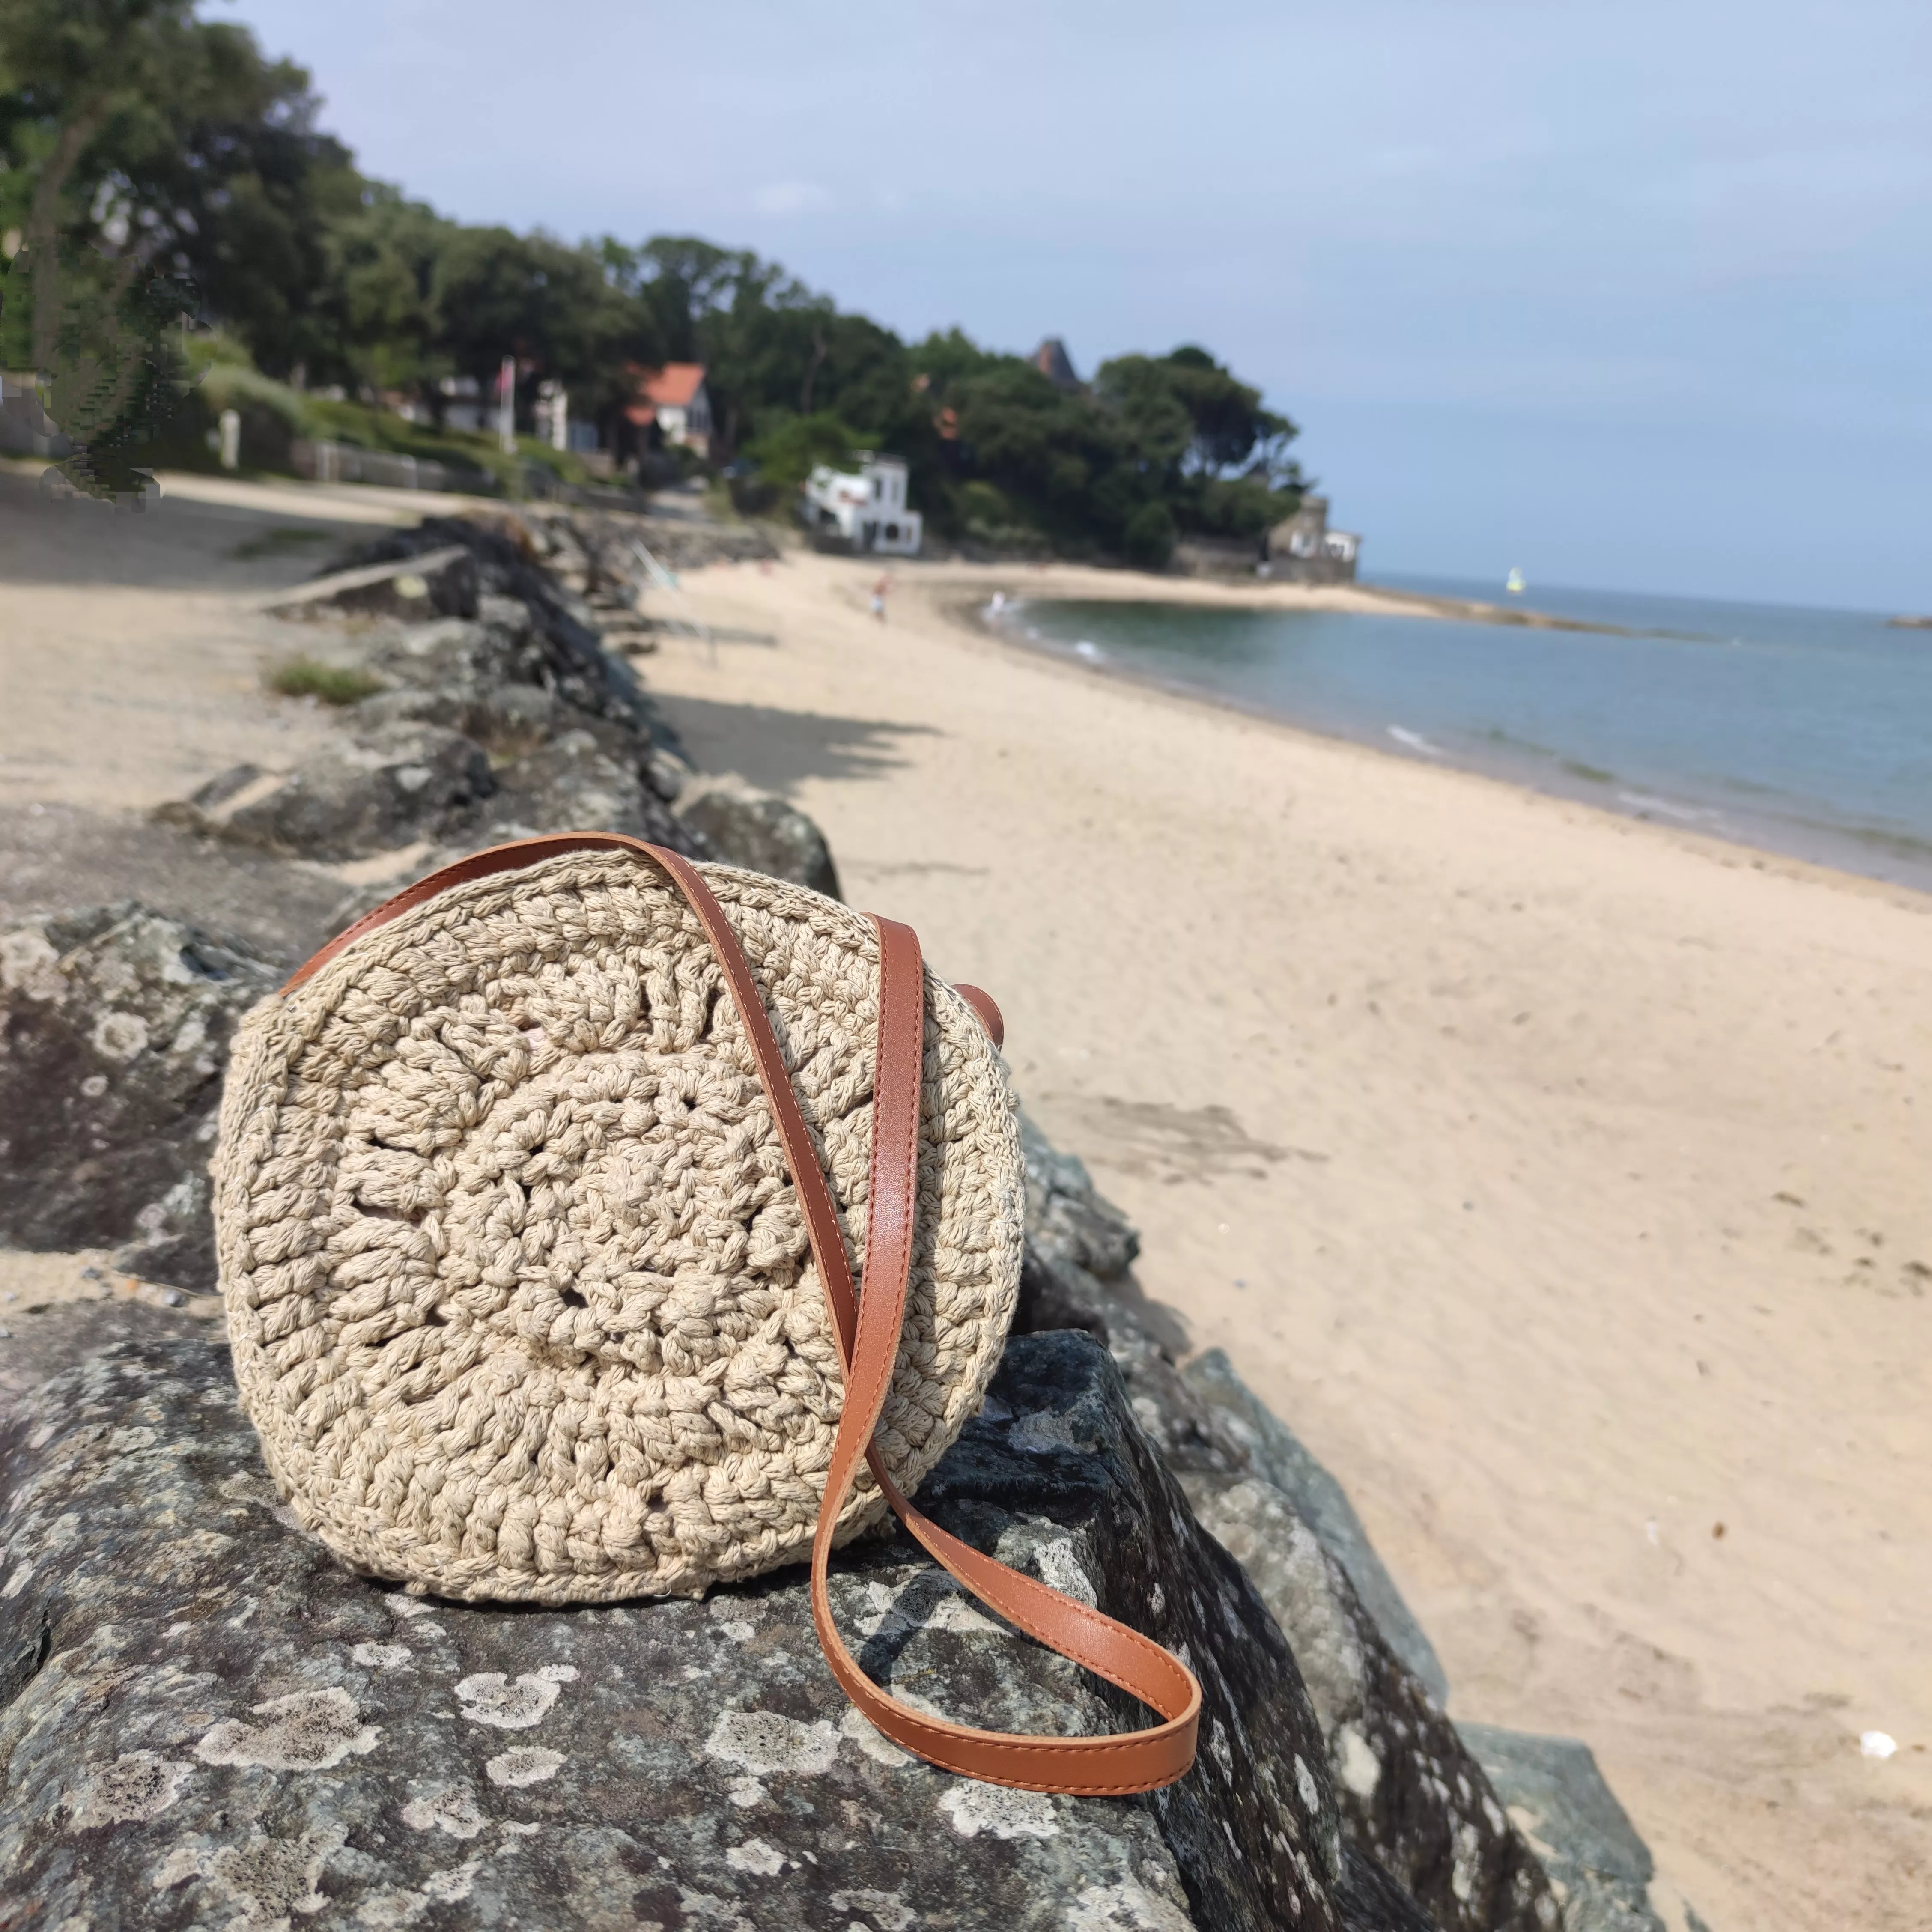
I was going to make my own summer bag!
The Model
The yarn is transformed into a cord and then crocheted. The design is made from two crocheted circles connected by a crocheted strip.
Material: 1,800 meters/1,970 yards of hemp turned into a cord using a knitting spool. For substitution, I recommend choosing a rustic "sport" type yarn, such as rustic cotton or linen, or directly choosing a cotton cord or raffia. In that case, 150m/164yds will suffice.
Crochet hook: 10mm/15/P/000.
Accessories : a 25 cm/9.8in zipper, 1.5 m/1.6 yards of faux leather strap in cognac color 1.5 cm/0.6 in wide, a piece of reversible fabric measuring 67cm/ 26.4 in inches wide by 40cm/ 15.7 inches high.
The pattern
For this pattern, I made 2 YouTube tutorials to help you make the inside and the finishings. You can find them here:
https://youtu.be/bkk87yfAPLU https://youtu.be/tNNjdv2fNOo
SIDE CIRCLES:
- Create a chain of 4 chain stitches with a 10mm/15/P/000 crochet hook and join in the round with a slip stitch into the first chain stitch. The round starts and ends here. = 4 stitches
- Round 1: Make 2 chain stitches, then 1 double crochet in each chain stitch, and join the round with a slip stitch in the 2nd chain stitch. = 4 stitches
- Round 2: Make 2 slip stitches in each stitch. = 8 stitches
- Round 3: Make 1 slip stitch in each stitch. = 8 stitches
- Round 4: Make 2 slip stitches in each even-numbered stitch and 1 slip stitch in each odd-numbered stitch (4 increases). = 12 stitches
- Round 5: Make 2 slip stitches every 3 stitches and 1 slip stitch in the other stitches (4 increases). = 16 stitches
- Round 6: Make 2 chain stitches, then 1 double crochet in each slip stitch, and join the round with a slip stitch in the 2nd chain stitch. = 16 stitches
- Round 7: Make 2 chain stitches, then [4 double crochets in each odd-numbered slip stitch, skip the even-numbered stitch] x8, and join the round with a slip stitch in the 2nd chain stitch. = 32 stitches
- Round 8: Make 1 slip stitch in each stitch. = 32 stitches
- Round 9: Make 1 slip stitch in each stitch. = 32 stitches
- Round 10: Make 3 chain stitches, then [4 treble crochets in 1 stitch, 1 chain stitch, skip the next stitch, 2 treble crochets in 1 stitch, 1 chain stitch, skip the next stitch] x8, and join the round with a slip stitch in the 2nd chain stitch. = 64 stitches
- Round 11: Make 1 slip stitch in each stitch. = 64 stitches
- Round 12: Make 3 chain stitches, then [1 treble crochet in each stitch] x64, and join the round with a slip stitch in the 2nd chain stitch. = 64 stitches
- Leave enough free cord to go around your circle.
- Repeat for the second side.
BOTTOM BAND:
- Create a chain of 7 chain stitches with a 10mm/15/P/000 crochet hook. Turn.
- Row 2: Make 1 slip stitch in each stitch starting from the second stitch. Turn. = 6 stitches
- Row 3: Make 2 chain stitches, then [1 double crochet in each slip stitch] x5. Turn. = 6 stitches
- Row 4: Make 1 chain stitch, then 1 slip stitch in each stitch starting from the second stitch. Turn. = 6 stitches
- Repeat rows 3 and 4 until you have a total of 28 rows
FINISHING:
- Block.
- Sew the extra cord along the outside of each side circle.
- If your material is too flexible, reinforce the outside of your side circles with wire inserted into the outer cord.
- Join the bottom band and the side circles, stopping at 21 cm/8.3 in height.
INTERIOR:
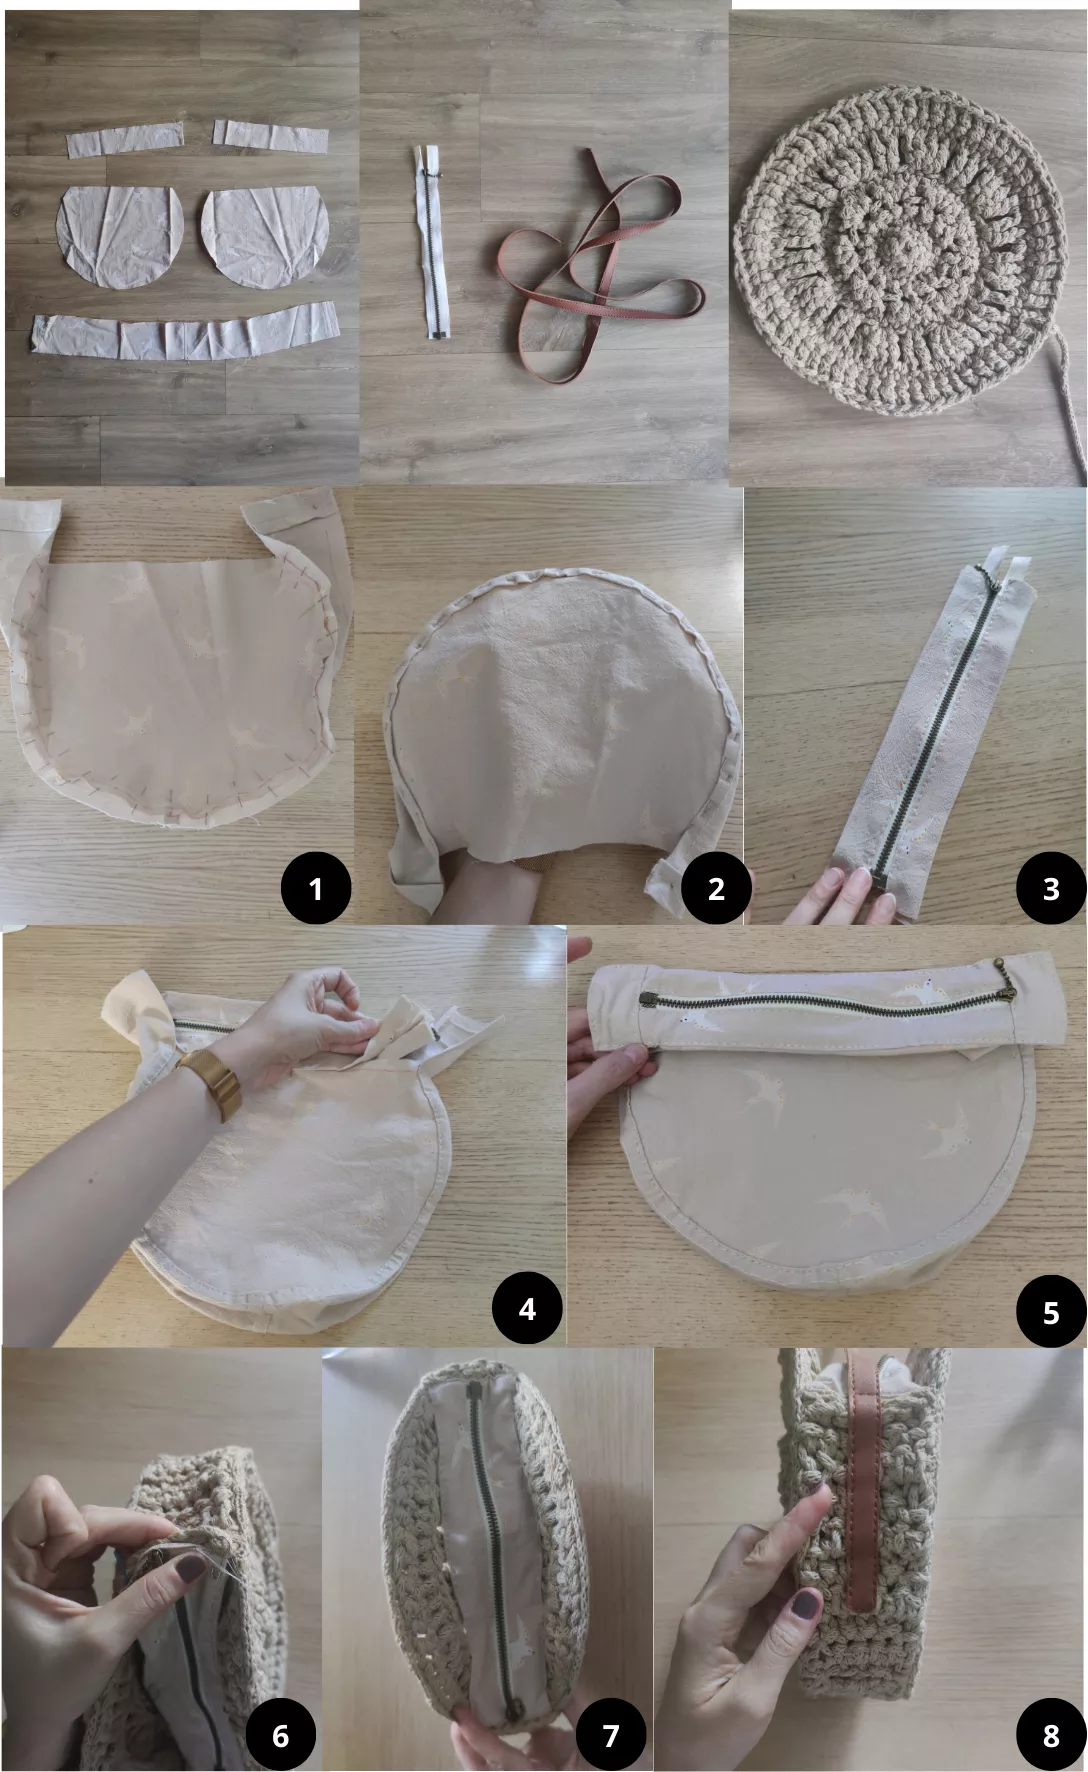
- Cut the sides, bottom, and top according to the attached pattern.
- Begin sewing one circle to the bottom band with French seams facing outward. Start and stop 1 cm/0.4 in after and before the ends of the tab.
- Repeat for the second side circle.
- Attach the top bands to each side of the zipper.
- Sew the bands to the rest of the interior with French seams facing outward.
- Attach the interior to the rest of the bag.
STRAP:
- Attach 10 cm/4 in of the strap to each side of the bag.
And there you have it, a beautiful homemade openwork cardigan!
Perfect for getting started with creating fancy patterns!
Don't forget to tag me on Instagram, Facebook, or TikTok with the hashtags #terrifiknits and #Tamarisbag or #SacTamaris once you're done, or add this project to your Ravelry list! I can't wait to see your version!
What you'll need :
Crochet pattern: download the instructions by clicking on the button bellow
Tamaris Canteen bag - Sac Tamaris Terrifiknits (PDF, 511.75 KB)
All my patterns are available for free.
So dont forget to show your support by subscribing to any of my social medias !
You'll help increase the visibility of my work...
You're document will be available in
Your file is availableDownload
Sewing pattern: download the instructions by clicking on the button bellow
Pattern Tamaris Terrifiknits (PDF, 66.08 KB)
All my patterns are available for free.
So dont forget to show your support by subscribing to any of my social medias !
You'll help increase the visibility of my work...
You're document will be available in
Your file is availableDownload
Yarn used : Phil origin, Ficelle , Happywool
https://www.happywool.com/p/phil-origin-p-070087.html#skuId:240748
Accessories: a 25 cm/9.8in zipper, 1.5 m/1.6 yards of faux leather strap in cognac color 1.5 cm/0.6 in wide, a piece of reversible fabric measuring 67cm/ 26.4 in inches wide by 40cm/ 15.7 inches high.
There is no comment yet.
Add a comment