Base Idea
Knit dresses are wardrobe staples. They offer the advantage of keeping warm while maintaining a touch of femininity in one's attire, which is not always easy during winter when there is a tendency to layer shapeless garments.
Personally, I had never knitted a dress before. It must be said that in the world of knitting, sweater patterns have long been more widely represented, making it challenging to find a model that stands out a bit from the ordinary.
I wanted to embark on the adventure of creating my first dress in 2021. I know it's been a while, but the model I crafted is still very relevant, so I thought I would present it to you here.
At that time, I was just starting to create my own patterns, and I didn't feel confident enough to start from scratch. So, I chose to perform a hack on an existing pattern.
The Inspiration
Sweater dresses are widely represented in all ready-to-wear brands, often in an oversized version with a high or turtleneck.
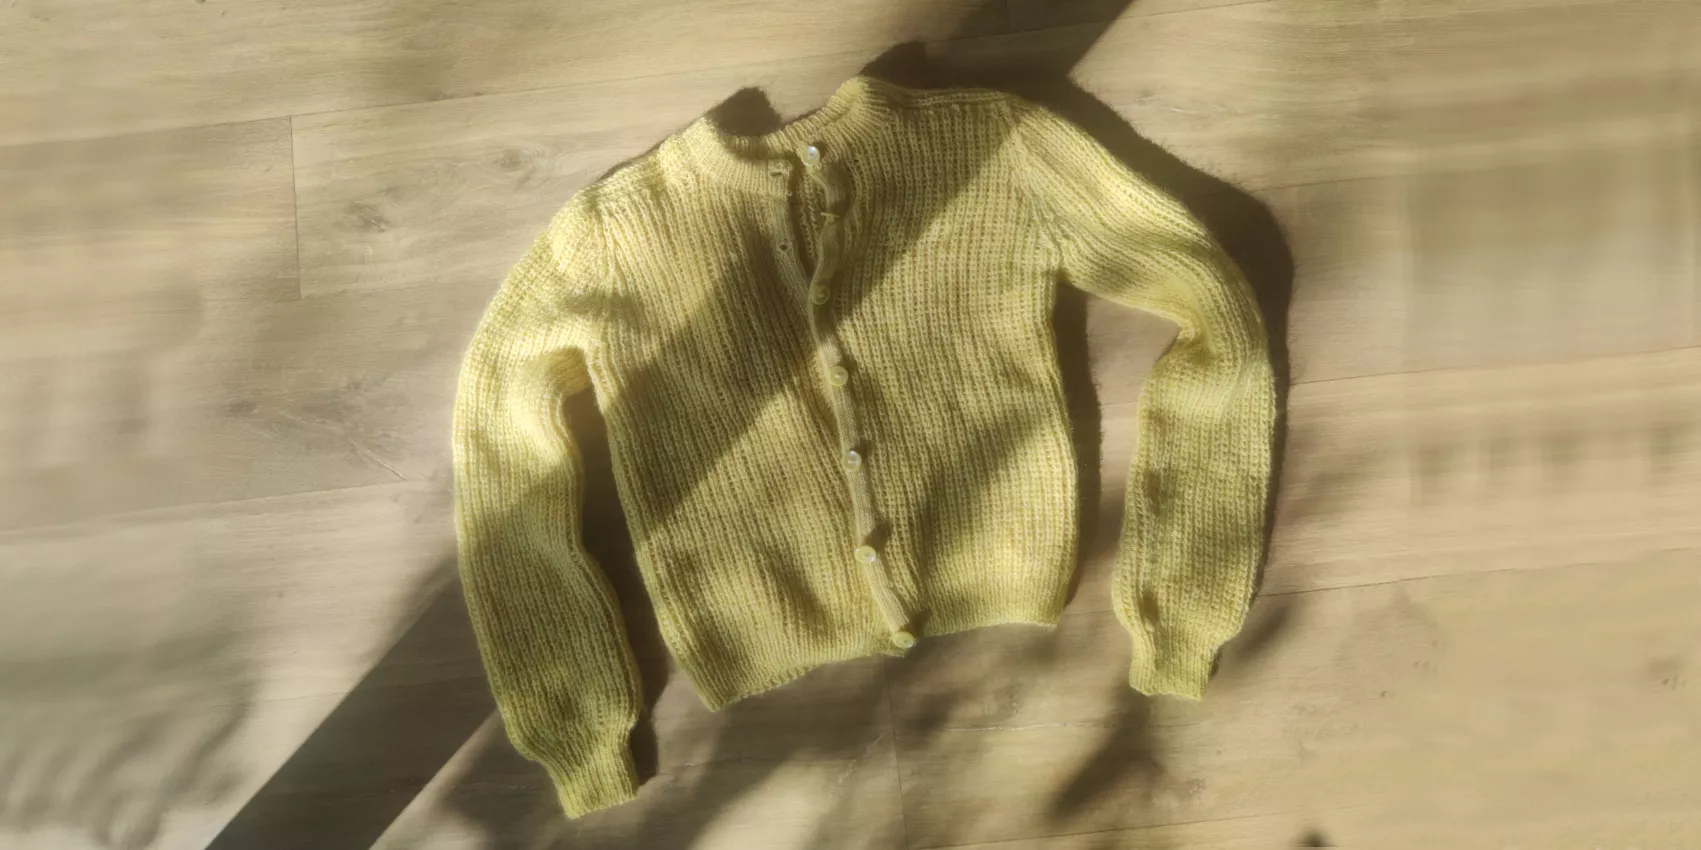
I didn't want to go for a model like this because I aimed to create a dress that was warm and thick, fearing to make something too shapeless and inelegant. Instead, I desired a delicate yet cozy piece. Thus, I decided to opt for a model with a round neckline and a faux button placket on the shoulder to add a row of raised buttons. The spirit I was aiming for was "marine chic"!
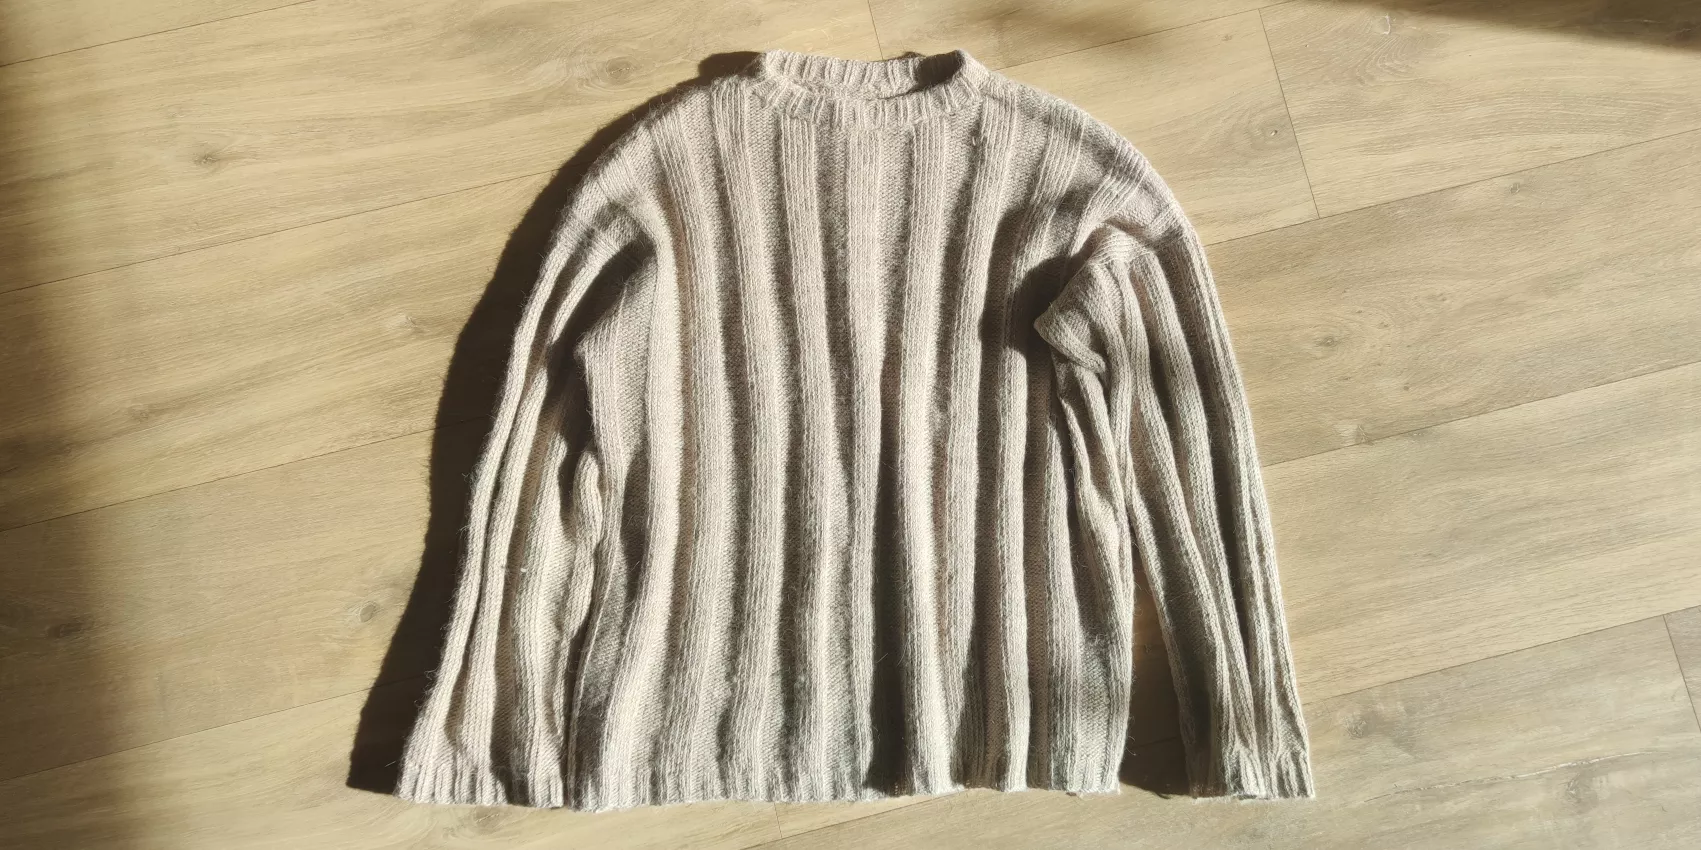
Now, I needed to find THE free pattern that I could customize. I set my sights on Garnstudio's Serene Forest pattern. It was perfect as it featured a basic round neckline knitted with 5mm/US8 needles (hence, the desired thickness) and a classic armhole (not raglan or circular), allowing for the easy integration of my button placket. To transform it into a dress, all I had to do was knit it in a larger size, avoiding the need for hip increases and maintaining a straight line.

The Hack Of The Pattern
This model is knitted from the bottom up.
So, the starting point of the hack is to knit the body in a size large enough for the intended hip dimensions.
Usually, I wear a size M, but for this model, I opted for a size XL, which also suited me for an oversized look. Instead of separating the back and front after 56cm/22in as planned, I extended the work by 10cm/4in, making it 66cm/26in to create a dress rather than a sweater.
I then followed the pattern normally until I assembled the shoulders and set up the sleeves but not the collar.
From this point, I picked up 9 stitches with a 4mm/US6 needle evenly distributed on the sleeve cap. Specifically:
- I identified the top middle of the sleeve (where the shoulder seams were made)
- I picked up 4 stitches in the two stitches before the marker, one at the seam, and 4 stitches in the two stitches after the marker.
This step allows me to create my button placket in line with the sleeve, precisely on the shoulder seam.


I then used a double-pointed needle, slipping it into each stitch of the front body's second-to-last row and did the same for the back of the body.
Next, I created the placket by knitting the first stitch with the front stitch on the double-pointed needle, knitting the next 7 stitches in stockinette stitch, and then knitting the last stitch with the back stitch on the double-pointed needle EVERY OTHER ROW.
This step allows for a clean assembly of the placket on both the front and back of the body every other row. Consequently, I knitted twice as many rows as the number of shoulder stitches.
If this step seems complex, you can simply knit the 9 stitches in regular stockinette stitch over twice as many rows as the number of stitches on the shoulder and then sew the placket on the front and back. The result might be less tidy, in my opinion, but it works completely.
Once the placket is formed, leave the 9 stitches on hold. When picking up stitches for the neckline, you will resume with these rather than the 4 stitches from the body, and you will knit them in stockinette stitch rather than ribbing like the rest.
And there you have it! Now, all that's left is to choose the buttons and place them at equal distances on your placket, and the customization is complete!


What You'll Need:
Knitting pattern: Serene forest sweater by Garnstudio and instructions above
https://www.garnstudio.com/pattern.php?id=10616&cid=8
Yarn used: Lima and Brushed alpaca, Grey (Medium grey - 9015 and grey - 03), Drops
https://www.garnstudio.com/yarn.php?show=drops-lima&cid=8
https://www.garnstudio.com/yarn.php?show=drops-brushed-alpaca-silk&cid=9
Buttons : Toto Tissus
www.toto.fr/
There is no comment yet.
Add a comment