The inspiration
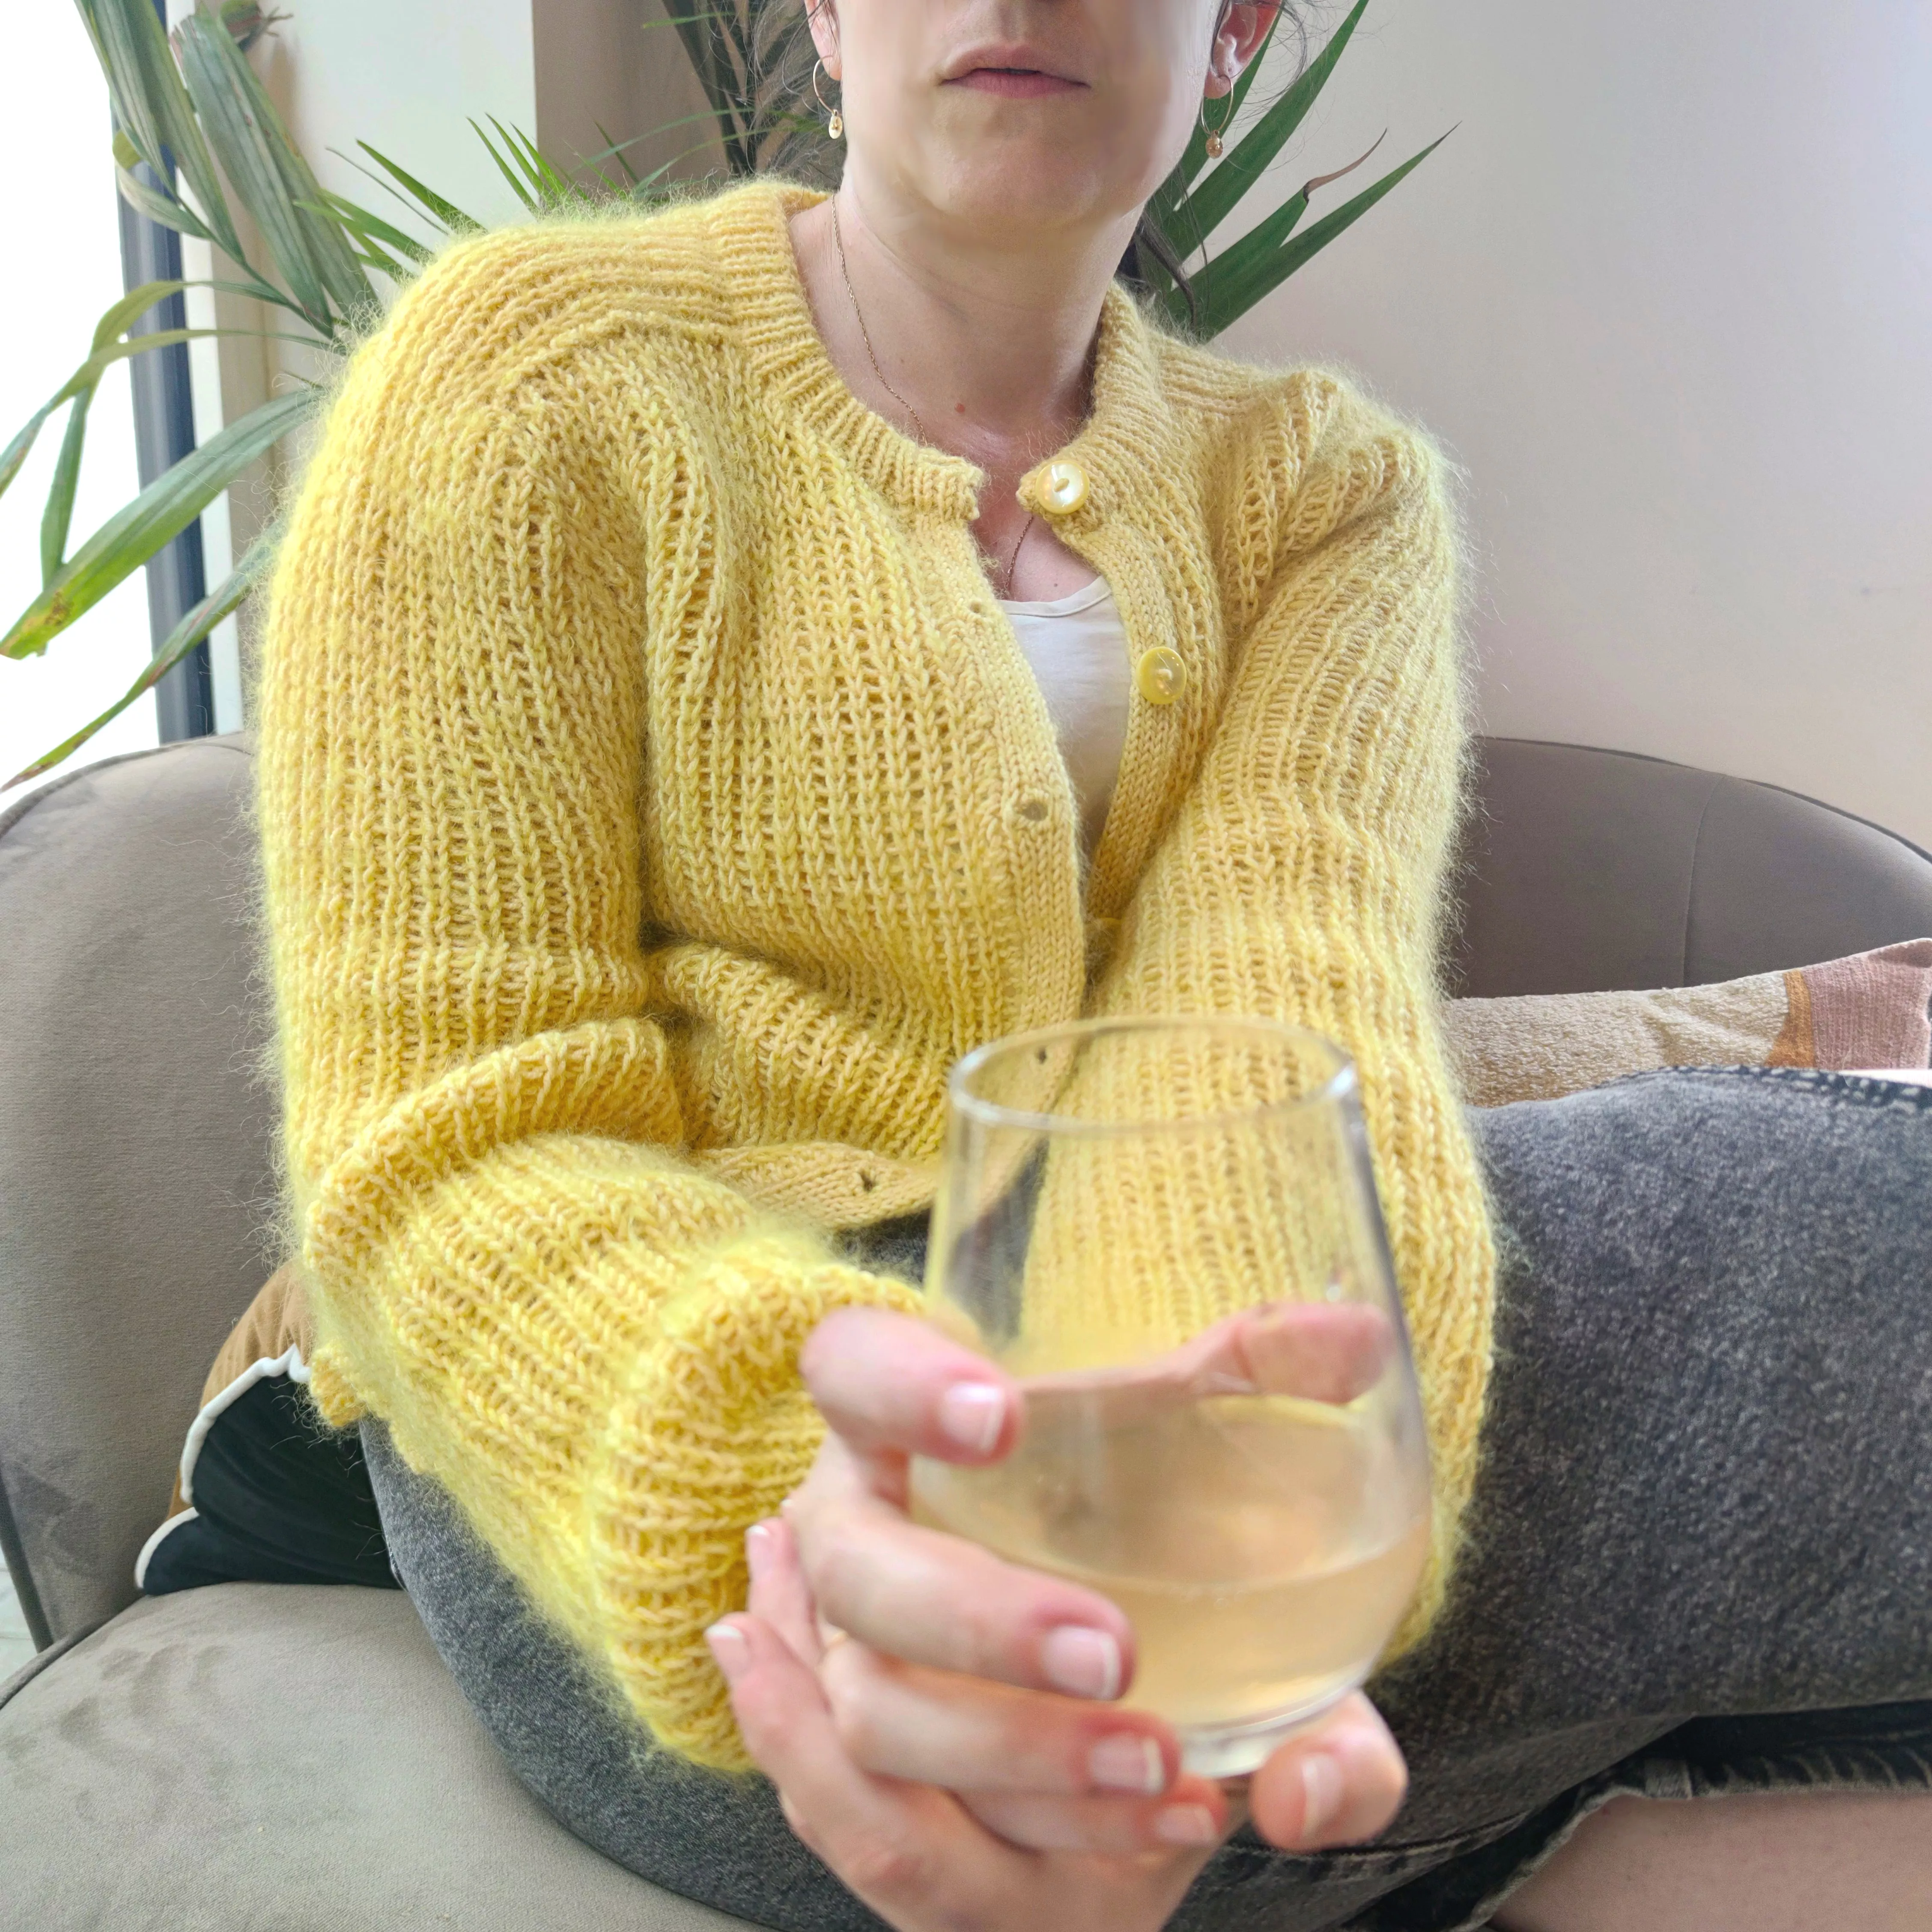
I had been wanting a basic lemon yellow cardigan for a while.
I scoured the stores but never found the right shade... It was always too pale, too pastel, too mustard... And yet I kept looking!
I had almost given up when, during my van trip, I stumbled upon THE color in a shop in Germany! The only problem was, I wanted a cozy cardigan, and this was just a basic Merino yarn... The quest was not over yet!
At the end of the trip, I explained my adventure to the owner of the last shop I visited. She suggested mixing my Merino with a mohair yarn… I wasn’t very convinced, especially since the color she suggested leaned a bit towards green...
Even though I wasn’t too sure, I thought, "why not, you don’t really have any other options," so I picked up a spool to give it a try.
Once I got home, I unpacked my purchases and started working on a swatch without much hope.
And then came the revelation! The perfect yellow I had been looking for appeared under my needles!
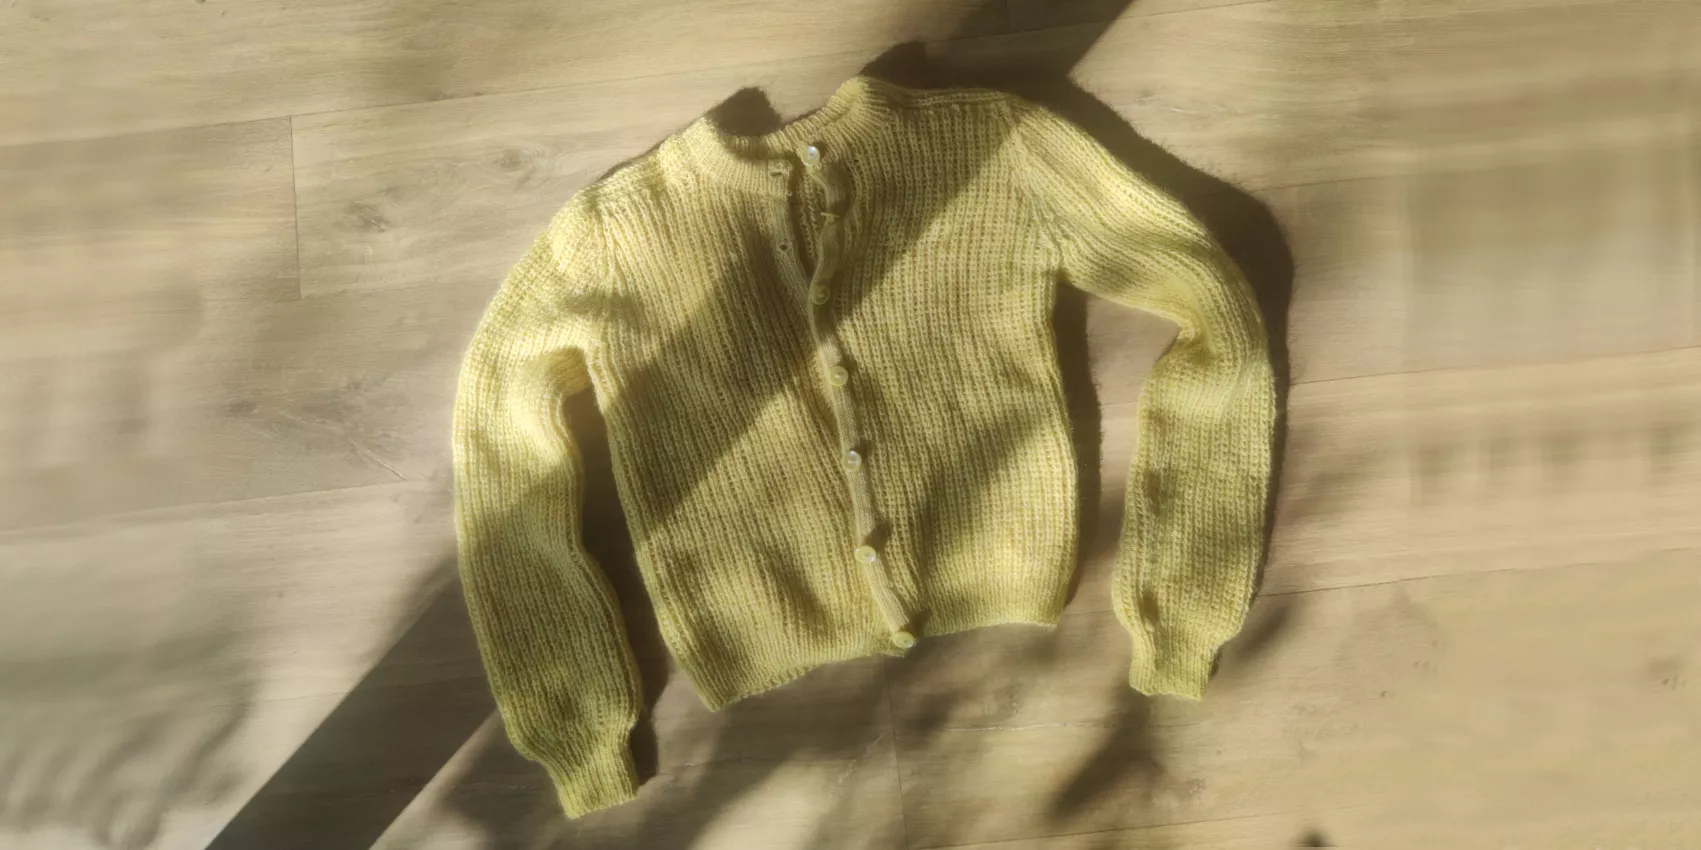
Without hesitation, I jumped into creating my raglan cardigan in moss stitch!
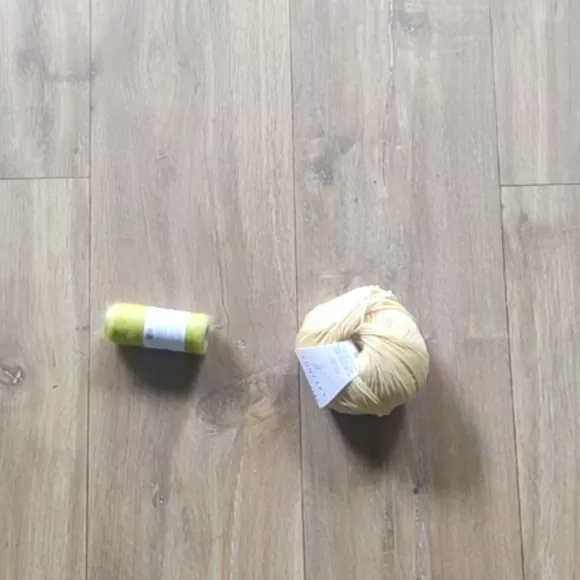
Oh, and for those who want to recreate the color, it’s a combination of two products from Katia: the Baby Merino in yellow and the 50 Mohair Shades in light pistachio. A well-known brand, but I had never seen these colors in stores...
The pattern
The pattern is worked in the round from bottom to top. The body and sleeves are joined to form the body, and a continuous band of the sleeve forms the top of the shoulder. The collar and button band are picked up along the body stitches in double knitting.
Material: 1200 meters or 1312 yards of merino and 1200 meters or 1312 yards of mohair. For substitutions, I recommend choosing a main yarn of "fine" quality like alpaca and a secondary "lace" yarn like brushed alpaca silk.
Needles: Circular and double-pointed needles 4mm/US6 and 4.5mm/US7 or equivalent to achieve the correct gauge.
Gauge 10X10 cm or 4x4 in: 17 stitches x 18 rows
Finished Size: see pdf.
Abbreviations : see pdf.
The Instructions
Don't forget, if you're having difficulties, the pattern is available as a video tutorial on my YouTube channel Terrifiknits!
RAGLAN DECREASES:
- Right Decrease: 3 stitches before the marker, purl 2 stitches together, slip the next stitch knitwise, place them back on the left needle, and pass the third stitch over the 2 stitches worked together.
- Left Decrease: Slip the first stitch as it is, knit the next two stitches together, and slip the first stitch over the two stitches knitted together.
- 21 stitches on the sides and button bands
- 17 stitches from the tabs
- 30 stitches for the back
THE BODY:
- Cast on 179 stitches using the 4mm/US6 circular needle.
- Continue back and forth in 1/1 ribbing, making sure to start and end with a selvedge stitch (knit on both sides).
- Place 2 markers distributed as follows:
- 1 selvedge stitch, 43 stitches = side
- marker,
- 91 stitches = body
- marker,
- 43 stitches, 1 selvedge stitch = side
- Continue for 4 cm/1.6 in. End on a right-side row.
- The next row is on the wrong side. Switch to 4.5mm/US7 needles and continue in half fisherman stitch (see diagram or tutorial video here).
- Continue until the body measures 37 cm/14.6 in.
- After an even row, leave the stitches on hold.
THE SLEEVES:
- Cast on 46 stitches using the 4mm/US6 circular needle.
- Continue in the round in 1/1 ribbing for 6 cm/2.4 in. End on an odd round.
- On an even round, switch to the 4.5mm/US7 circular needle and distribute 10 increases (approximately one between the 9th and 10th stitches) = 56 stitches.
- Continue in half fisherman stitch (see diagram or tutorial video here) for 48 cm/18.9 in.
- After an odd row, leave the stitches on hold.
- Work the second sleeve in the sameway..
THE BODY:
- Join the body and sleeves using a 4.5mm/US7 circular needle, binding off 3 stitches for each underarm:
- Knit 1 selvedge stitch, 42 stitches of the body (stopping 1 stitch before the side marker).
- Slip the sleeve stitches except for 1 before the marker and 2 after.
- Bind off by knitting the next stitch together with the stitch before the sleeve marker, then the next 2 body stitches together with the 2 stitches after the sleeve marker = 3 body stitches and 3 sleeve stitches decreased for each underarm.
- Knit 85 stitches of the back (stopping 2 stitches before the side marker).
- Slip the sleeve stitches except for 2 before the marker and 1 after.
- Bind off by knitting the next 2 body stitches together with the 2 stitches before the sleeve marker, then the next stitch together with the stitch after the sleeve marker = 3 body stitches and 3 sleeve stitches decreased for each underarm.
- Knit 42 body stitches and 1 selvedge stitch.
- This leaves you with 43 stitches for each side (including selvedge), 85 back stitches, and 53 sleeve stitches.
- On the next row (even row), pick up one purl stitch before and after each underarm bind-off = +4 stitches.
- Place a marker in each of these picked-up stitches.
- Continue in half fisherman stitch.
- On the 9th row (on a regular rib row), decrease the raglan. Before each marker, make a right decrease (see explanation above), and after each marker make a left decrease = 16 stitches decreased, resulting in 41 stitches for each side (including selvedge), 81 back stitches, 49 sleeve stitches, and 4 marked stitches.
- Repeat these decreases every 8 rows, 6 times in total.
- AT THE SAME TIME, on the 37th, 45th, and 51st rows, make raglan decreases on the sleeves only.
- AT THE SAME TIME, start the collar decreases:
- On the 41st row, bind off 4 stitches on each side.
- On the 43rd row, bind off 2 stitches on each side.
- On the 45th row, bind off 2 stitches on each side.
- On the 47th row, bind off 2 stitches on each side.
- On the 49th row, bind off 2 stitches on each side.
- On the 51st row, bind off the remaining 20 stitches.
- You will have 20 stitches on each side, 20 back stitches, and 17 sleeve stitches.
- Use the sleeve stitches to form the top of the shoulder and join the back and sides:
- Cut the yarn and resume from one of the two tabs.
- Knit the tab by knitting the last stitch of the row together with the first back stitch.
- On the next row, knit the last stitch of the row together with the first side stitch.
- Continue this way for 40 rows and bind off on the 41st row.
- Knit the second tab in the same way.
THE BUTTON BAND:
- Pick up 131 stitches along one side of the cardigan with a 4mm/US6 circular needle and set them aside.
- Cast on 10 stitches and create a button band in double knitting by knitting the last stitch with a side stitch on the way and leaving it on the way back (see video tutorial here).
- Bind off at the 250th row.
- For the second side, proceed in the same way, making buttonholes on the 8th, 50th, 92nd, 134th, 176th, and 218th rows
THE NECK:
- Pick up 131 stitches along the collar of the cardigan with a 4mm/US6 circular needle:
- Knit in 1/1 ribbing, continuing the row count from the button bands.
- On the 260th and 270th rows, open the last buttonhole.
- Continue for 4 cm/1.6 in.
- Work one purl row.
- Continue for another 4 cm/1.6 in.
- Bind off.
- Sew the collar to the inside, folding it along the purl row.
FINISHING:
- Weave in ends and block the piece.
And there you have it, a beautiful homemade openwork cardigan!
Perfect for getting started with creating fancy patterns!
Don't forget to tag me on Instagram, Facebook, or TikTok with the hashtags #terrifiknits and #TouchCardigan or #giletTouch once you're done, or add this project to your Ravelry list! I can't wait to see your version!
What you'll need :
Knitting pattern: download the instructions by clicking on the button bellow
Touch cardigan Terrifiknits (PDF, 663.94 KB)
All my patterns are available for free.
So dont forget to show your support by subscribing to any of my social medias !
You'll help increase the visibility of my work...
You're document will be available in
Your file is availableDownload
Yarn used: Baby Merino yellow (37), 50 Mohair shades pistachio (21), Katia
https://www.katia.com/FR/fils-automne-hiver-merinobaby-512.html
https://www.katia.com/FR/fils-all-seasons-50mohairshades-1217.html


There is no comment yet.
Add a comment