The inspiration
It had been a while since I wanted to create a pattern for a basic sweater.
I imagined a simple design to knit, one that would go with everything—whether for casual or more dressed-up outfits. I envisioned creating a sweater I could remake in many different colors and materials and that I could easily transform with a V-neck, a mock turtleneck, a rolled neck, or other styles. I wanted an accessible pattern that anyone could knit easily, with a simple yet adaptable shape.
This sweater, I imagined it as a wardrobe essential, one that could be knitted in cotton for summer, merino wool for winter, or even blended with alpaca for extra coziness. Each material would give it a unique look, so you’d never tire of knitting it.
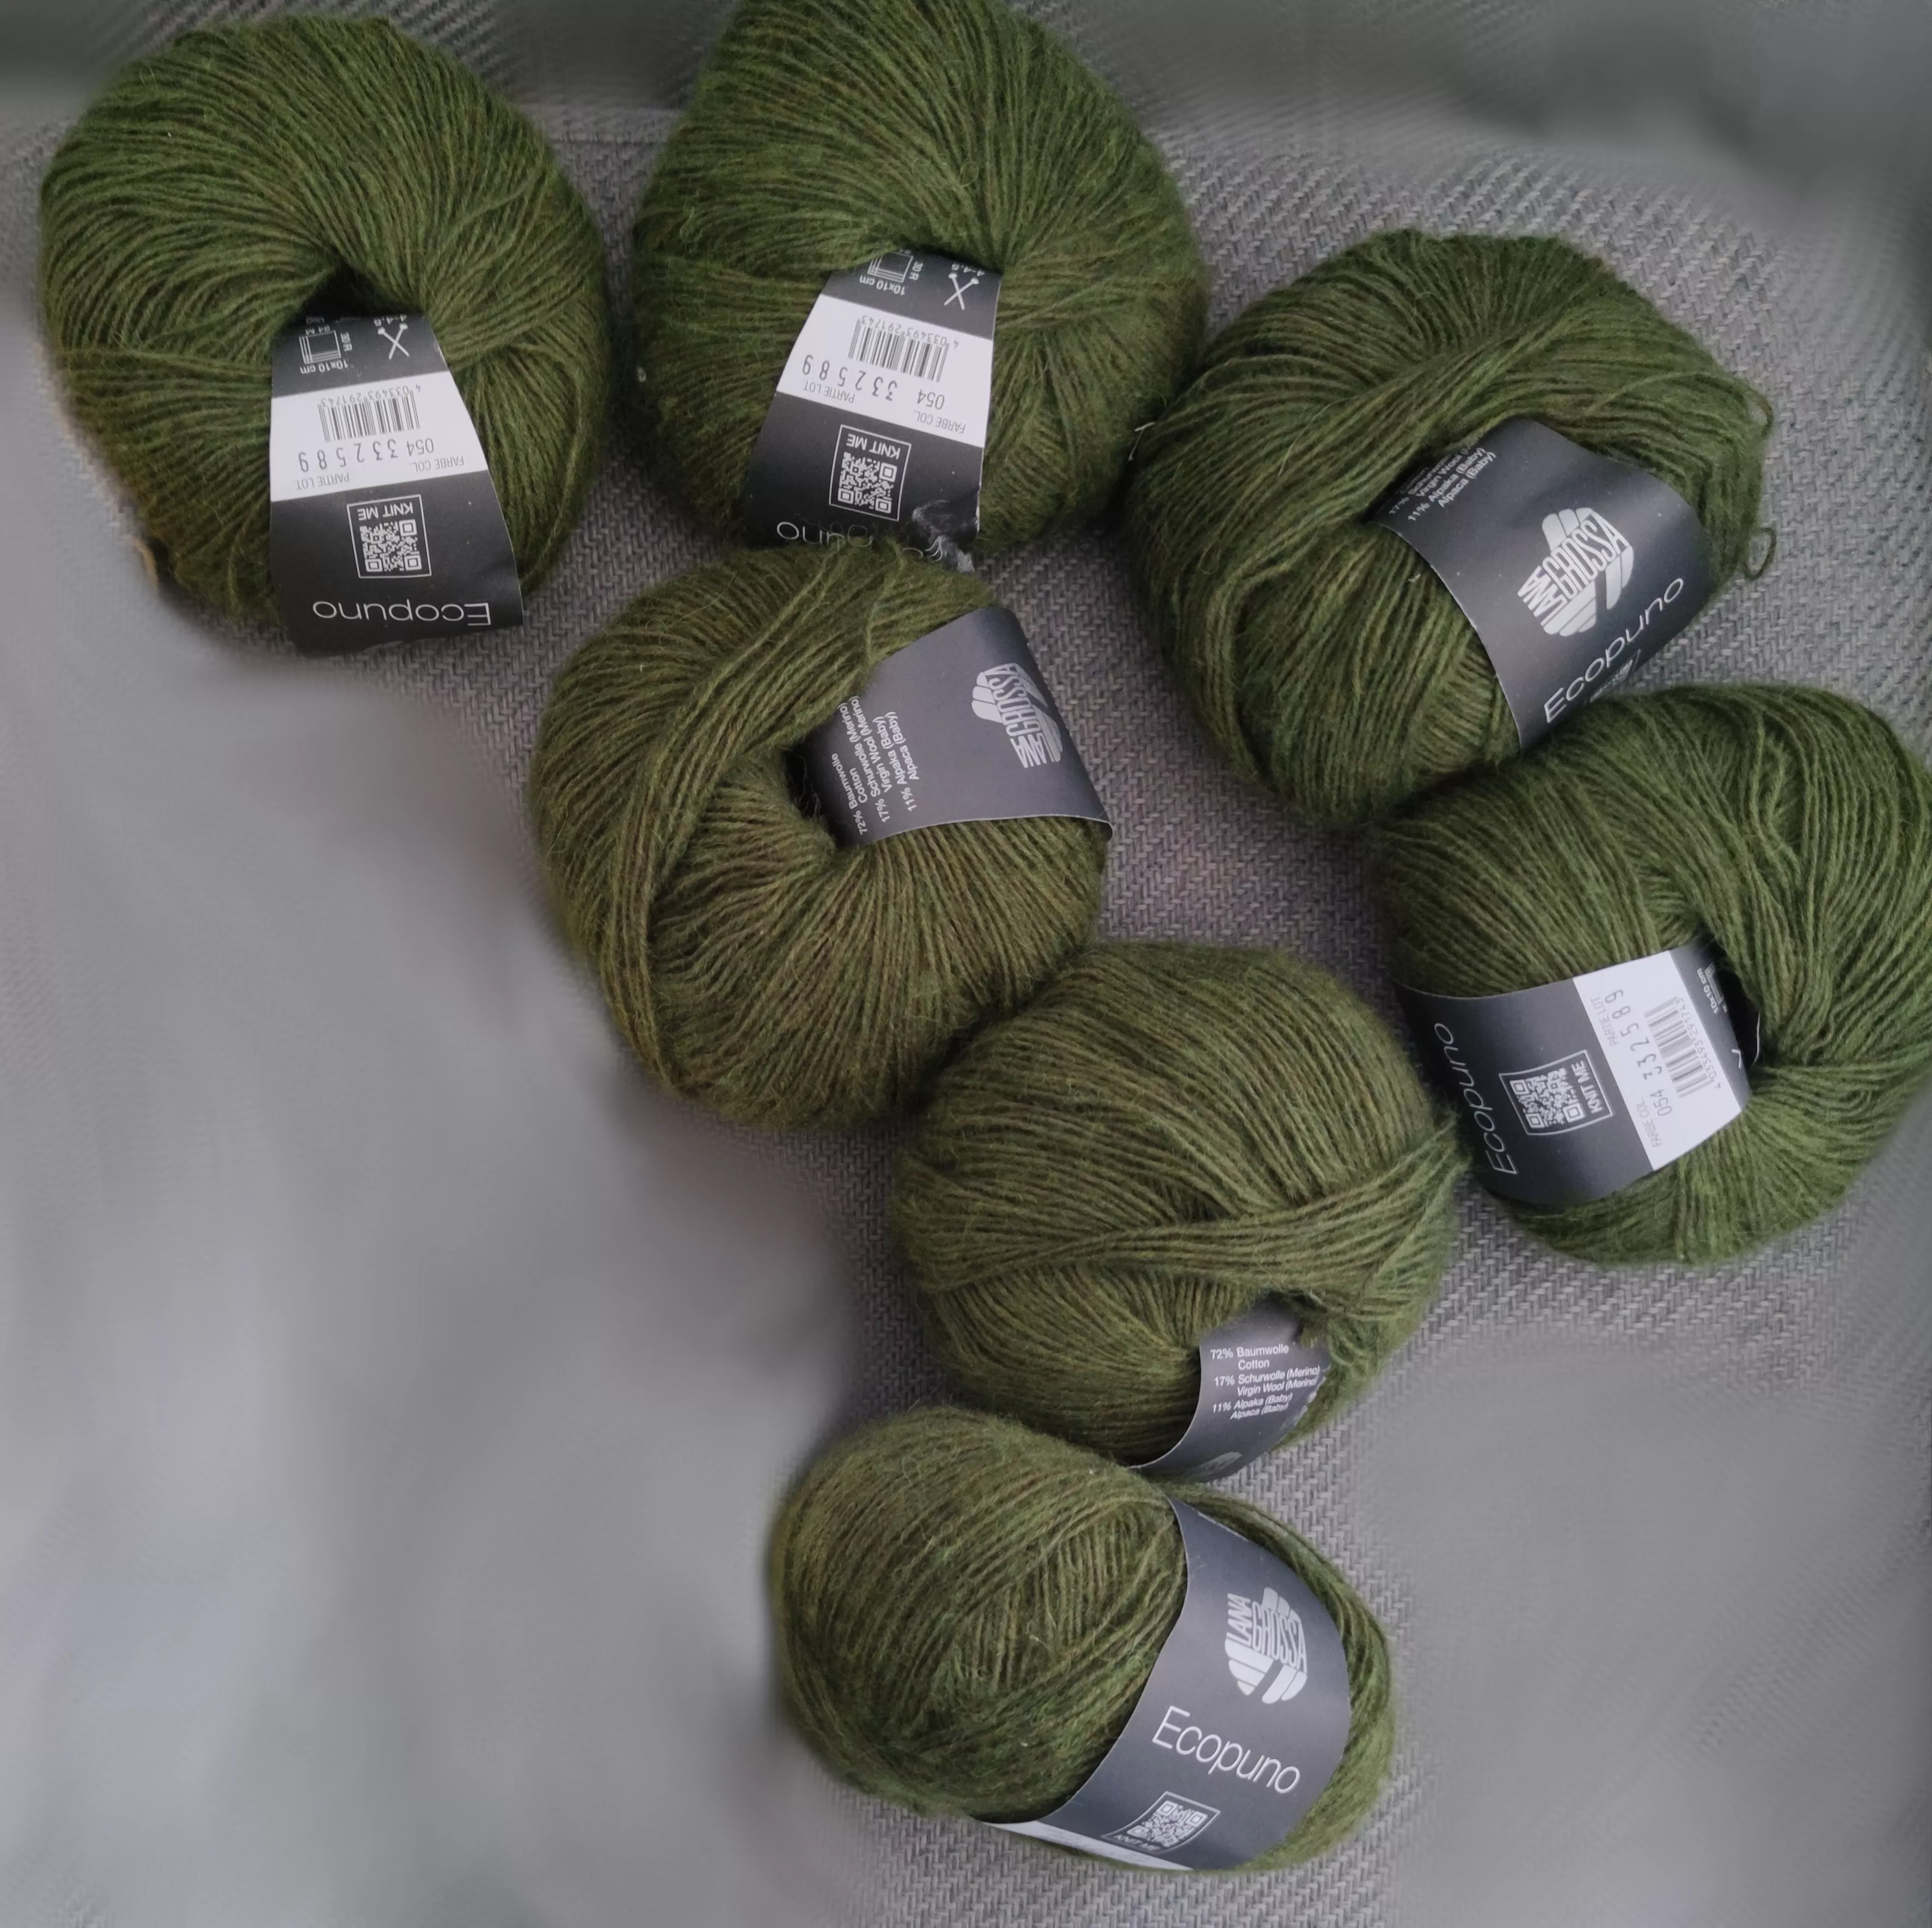
Last April, during a van trip, I had the chance to visit several yarn shops across Europe. In Germany, I finally found what I had been searching for forever: THE perfect shade of green. Skeins in a subtle olive-toned khaki that I’d never seen in any brands available in France.
I discovered this color in a charming little shop, and even though I didn’t have a specific project in mind, I bought a few skeins. I knew I would find the perfect project to showcase them!
Back home, the idea of this basic sweater came back to me. I instantly knew that this yarn was perfect for the project.
So, I started working on the pattern, revisiting it multiple times, with improvements in each version, almost like a style exercise.
After several tests and adjustments, I’m so excited to share the pattern for this basic sweater with you. I hope you love it as much as I do, and I can’t wait to see your creations!
The Pattern
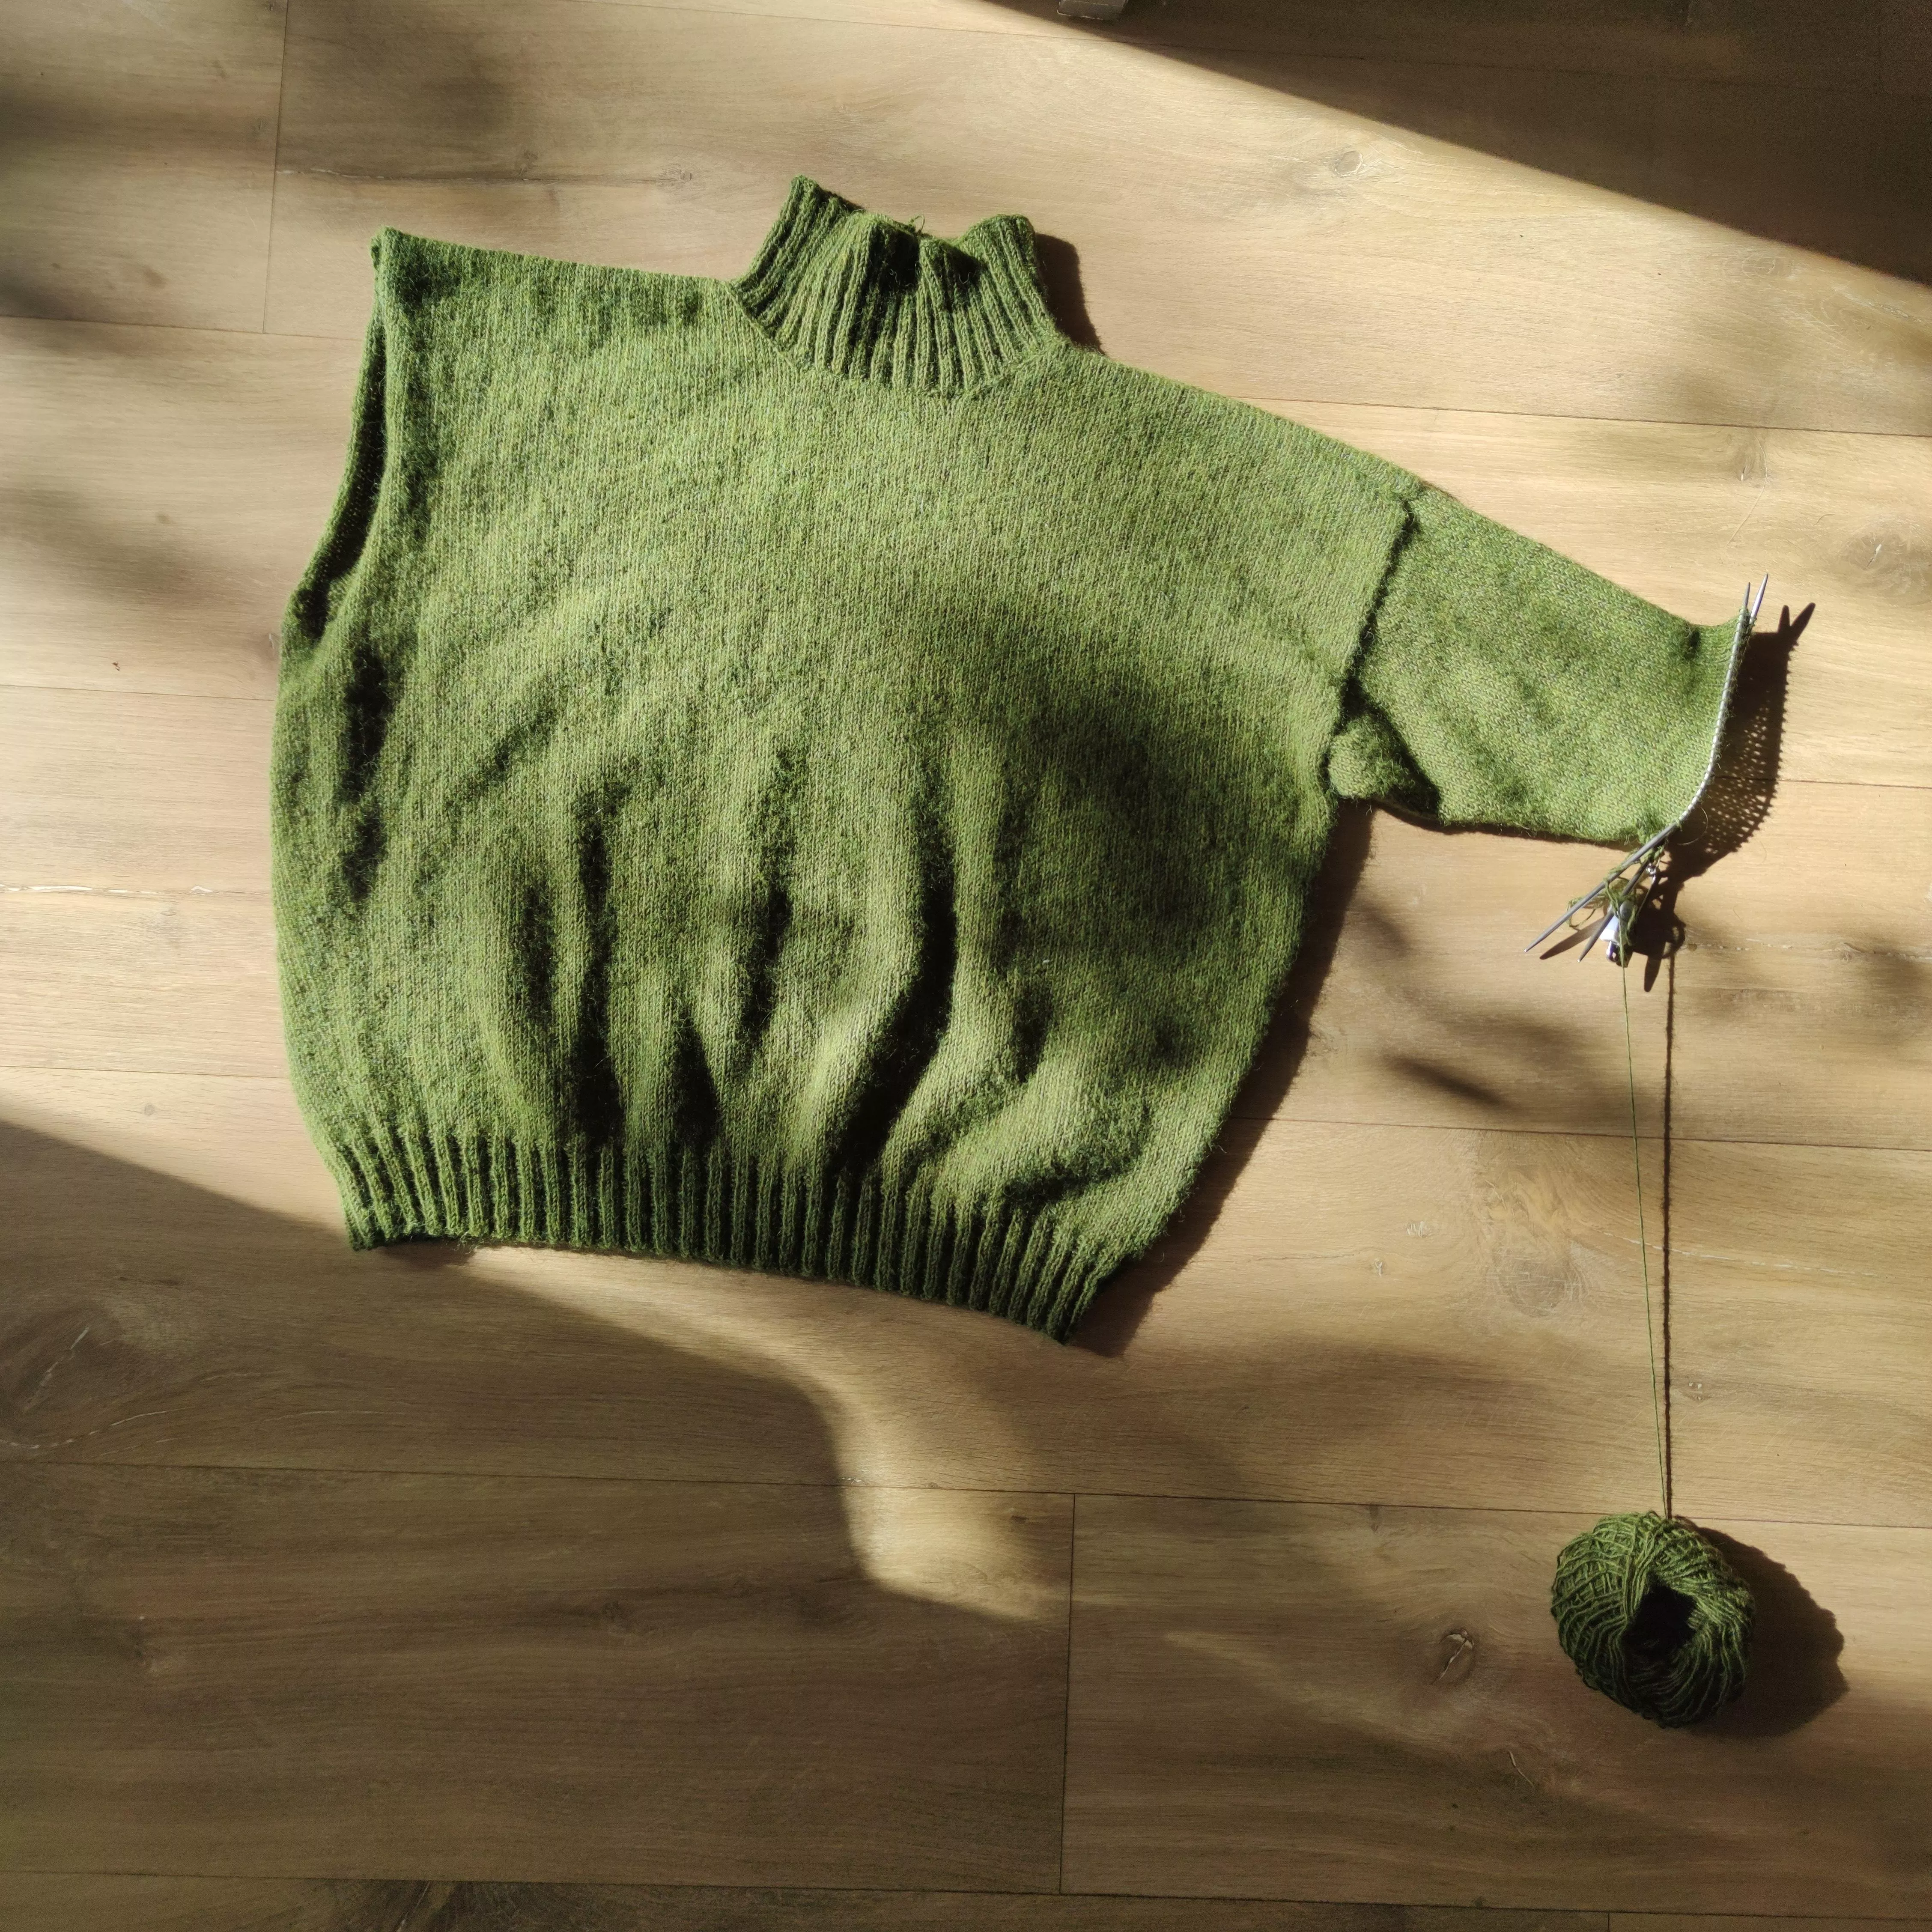
The pattern is worked in the round from the bottom up for the body and flat for the remainder. The sleeves and neckline are picked up in the round from the body stitches. The neckline is either semi-high or funnel neck.
Material: 1290 meters or 1410 yards of cotton/merino blend in "light" weight. For substitutions, I recommend choosing a main yarn with good structure, like merino.
Needles: Circular and double-pointed needles in 3.5mm/US4 and 3mm/US2, or sizes needed to achieve gauge.
Gauge 10X10 cm or 4X4 in: 26 stitches x 35 rows in stockinette stitch.
Finished size: see pdf.
Abbreviations: see pdf.
The Instructions For The Model
DECREASES:
- Right decrease: 2 stitches before the marker, knit 2 stitches together.
- Left decrease: After the marker, slip one stitch knitwise, knit the next stitch, pass the slipped stitch over the knit stitch.
INCREASES:
- Left increase: Stop 1 stitch before the marker, pick up the strand between the worked stitch and the next from front to back, and knit it through the back loop.
- Right increase: Knit 1 stitch after the marker, pick up the strand between the worked stitch and the next from back to front, and knit it through the front loop.
THE BODY:
- Cast on 252 stitches using 3mm/US2 circular needles and join in the round.
- Place a beginning-of-round marker and a different marker at the halfway point (126 stitches on each side).
- Work 20 rounds or 5cm/2in in 2x2 ribbing, starting and ending each round with a purl stitch.
- Switch to 3.5mm/US4 needles and continue in stockinette stitch. At the same time, increase 1 stitch on each side of both markers (right increase before the marker and left increase after) = +4 stitches, for a total of 256 stitches or 128 stitches on each side.
- Repeat these increases a total of 6 times every 10 rounds: 276 stitches or 138 stitches on each side.
- Continue until the sweater measures 31cm/12.2in in height or 90 rounds.
- Separate front and back by binding off 2 stitches before and after each marker = 134 stitches on each side.
THE BACK:
- Continue working back and forth for 60 rows or 19cm/7.5in.
- On the next row (right side), bind off the central 24 stitches = 55 stitches for each shoulder.
- Work each shoulder separately, starting with the left shoulder (when looking at the sweater from the front).
- *On the next row (wrong side), knit stitches as they appear.
- On the following row (right side), knit one stitch, then decrease 1 stitch on the left, knit the rest of the row normally = 54 stitches.*
- Repeat the sequence from * to * a total of 6 times = 49 stitches.
- Bind off all stitches. Move to the right shoulder.
- *On the next row (wrong side), knit stitches as they appear.
- On the following row (right side), knit to the last 3 stitches, decrease 1 stitch on the right, knit 1 stitch = 54 stitches.*
- Repeat the sequence from * to * a total of 6 times = 49 stitches.
- Bind off all stitches.
THE FRONT:
- Continue working back and forth for 54 rows or 17cm/6.7in.
- On the next row (right side), bind off the central 18 stitches = 58 stitches for each shoulder.
- Work each shoulder separately, starting with the left shoulder (when looking at the sweater from the front).
- *On the next row (wrong side), knit stitches as they appear.
- On the following row (right side), knit one stitch, then decrease 1 stitch on the left, knit the rest of the row normally = 57 stitches.*
- Repeat the sequence from * to * a total of 9 times = 49 stitches per shoulder.
- Bind off all stitches. Move to the right shoulder.
- *On the next row (wrong side), knit stitches as they appear.
- On the following row (right side), knit to the last 3 stitches, decrease 1 stitch on the right, knit 1 stitch = 57 stitches.*
- Repeat the sequence from * to * a total of 9 times = 49 stitches per shoulder.
- Bind off all stitches.
- Sew the back shoulders to the front shoulders.
THE SLEEVES:
- Pick up 96 stitches in the round using 3.5mm/US4 circular needles, 48 from the front and 48 from the back (approximately 1 stitch picked up for every 2 out of 3 rows).
- Continue working in stockinette stitch in the round.
- Every 4 rounds, decrease 1 stitch after the marker using a right decrease and 1 stitch before the marker using a left decrease = -2 stitches, leaving 94 stitches.
- Repeat these decreases a total of 22 times = 52 stitches at the 88th round.
- After 108 rounds or 29cm/11.4in, switch to 3mm/US2 needles and knit in 2x2 ribbing for 8cm/3.1in or 27 rounds.
- Bind off on the 28th round using 3.5mm/US4 needles for a stretchier bind-off.
- Work the other sleeve in the same way.
THE NECKLINE:
• Pick up 128 stitches along the neckline of the sweater with the 3mm/US2 needles:
- Back: 24st
- Back sides : 18st each side
- Front : 18st
- Front sides : 24st each side
- And 1st on each seam
- Knit in 2x2 ribbing for 8cm/3.1in or 27 rounds.
- Bind off on the 28th round using 3.5mm/US4 needles for a stretchier bind-off.
FINISHING:
• Weave in the ends and block.
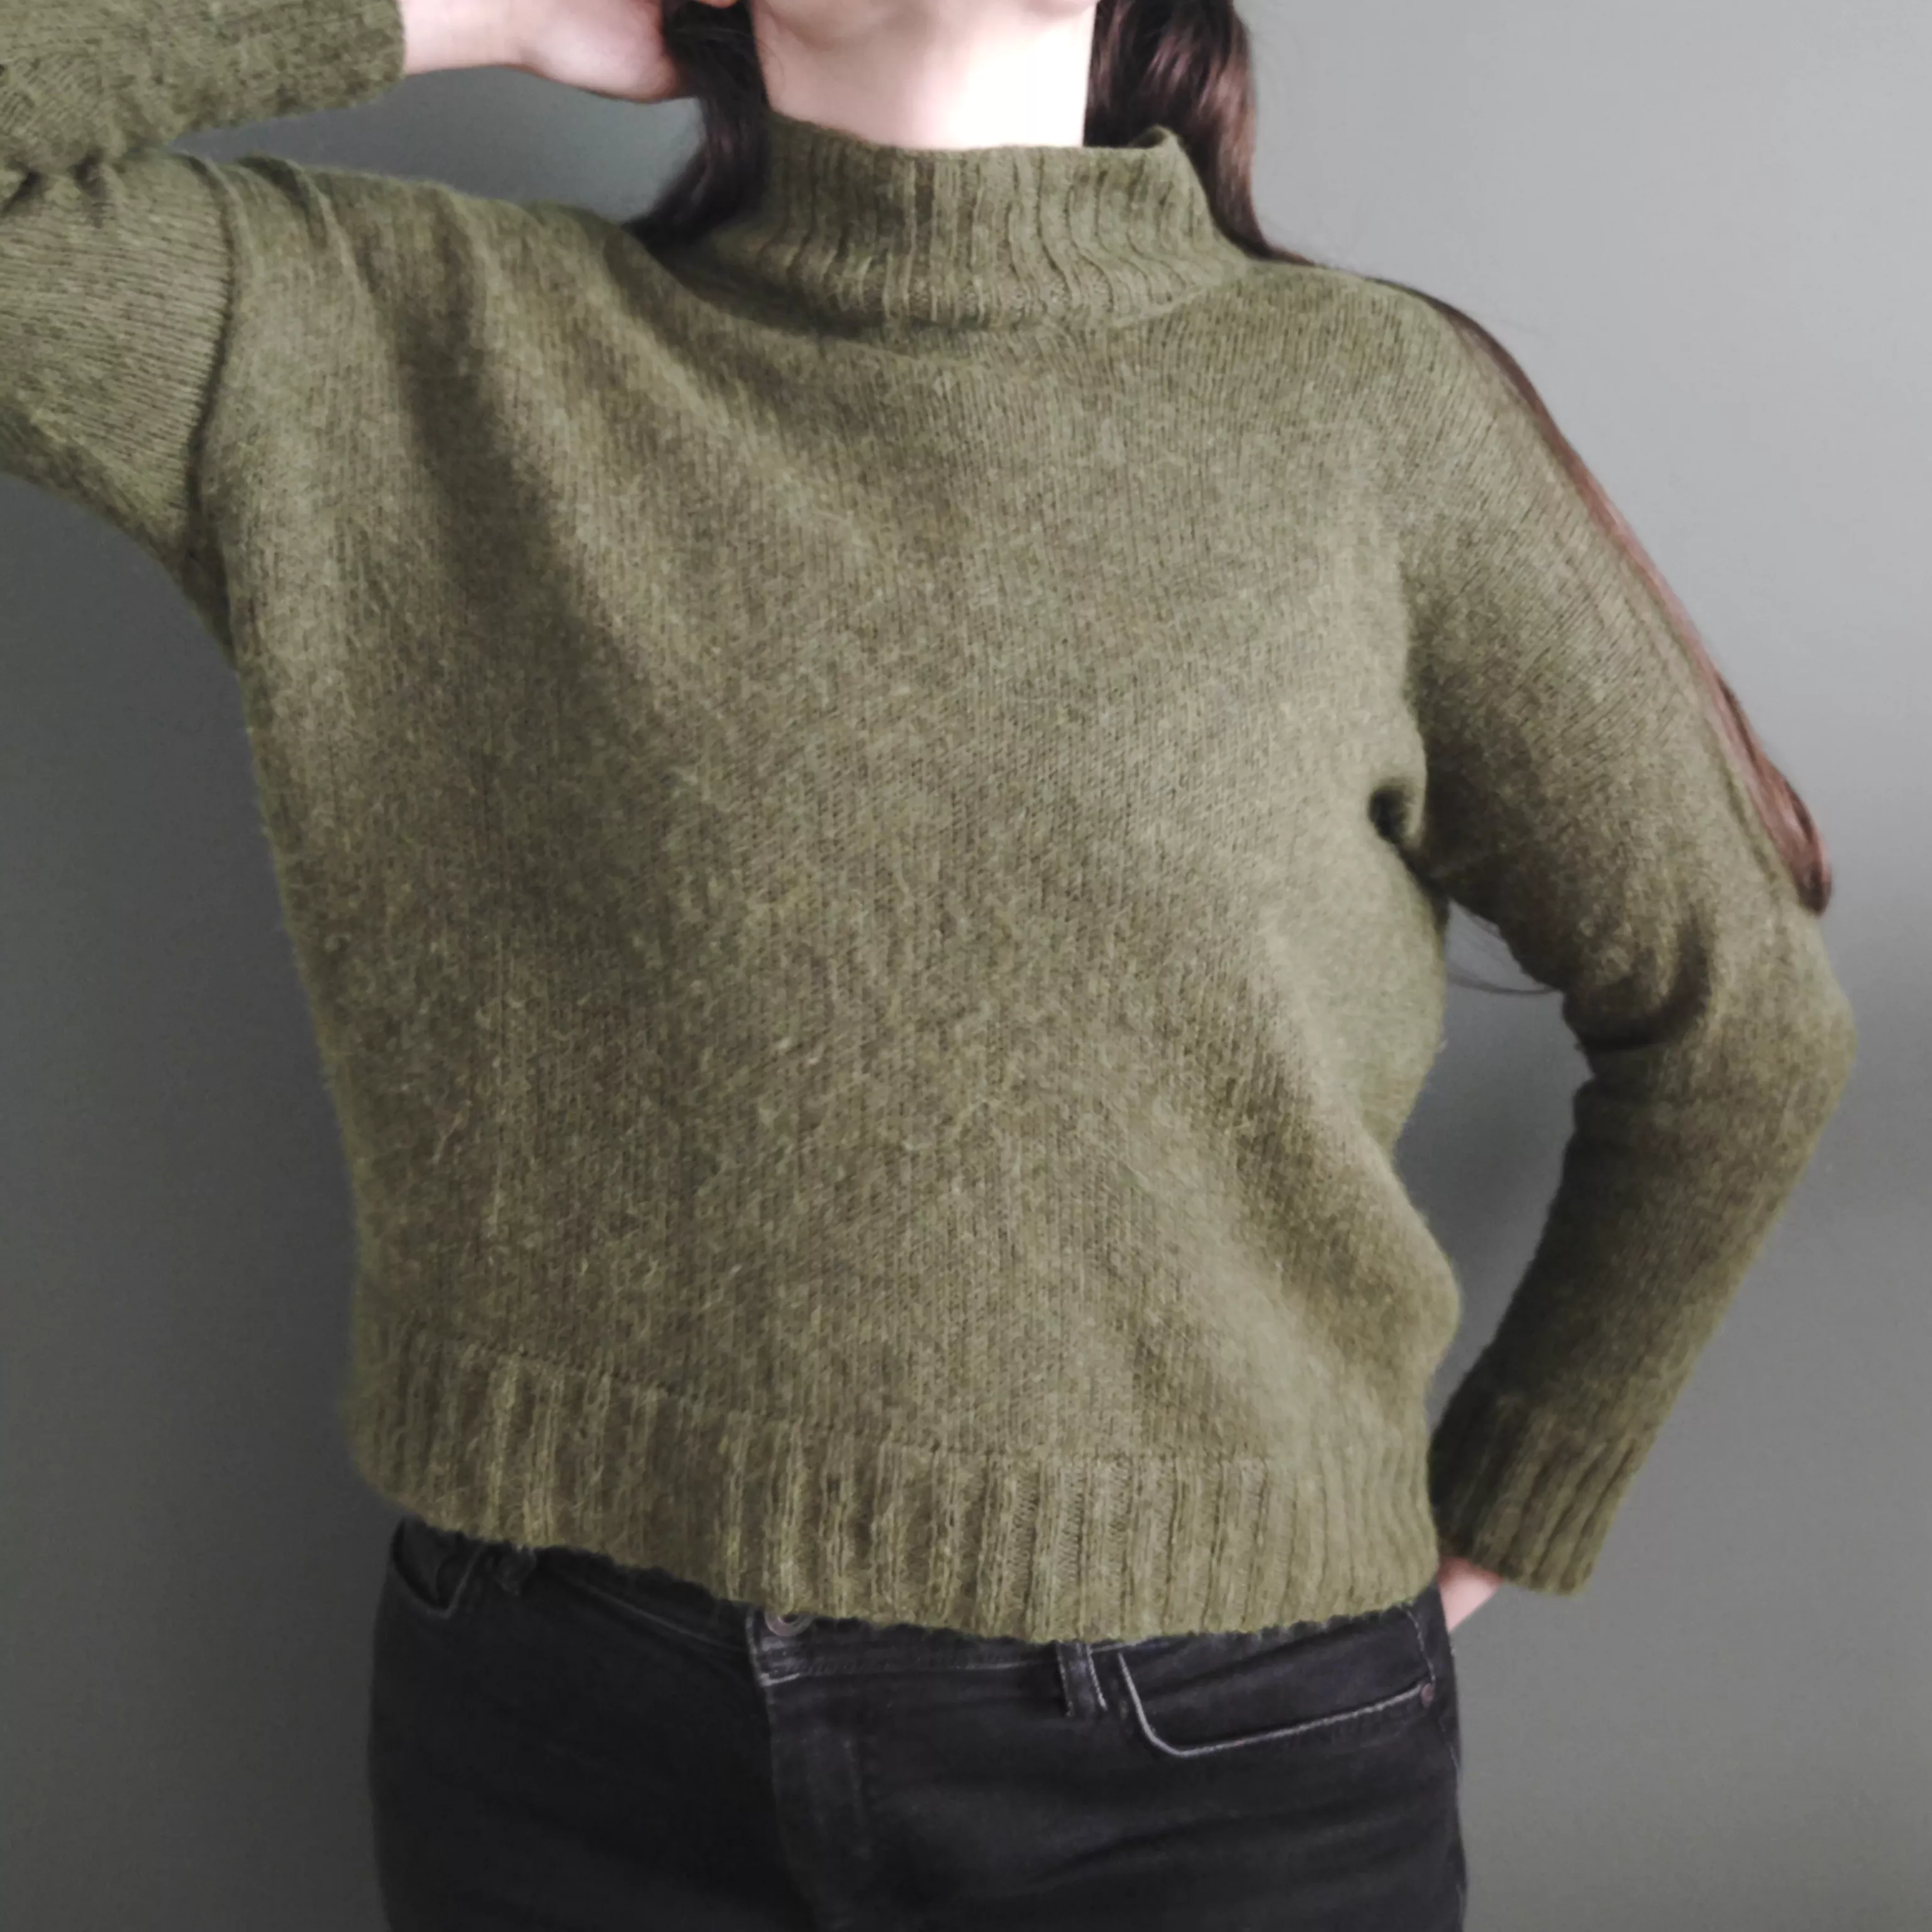
And there you have it, a beautiful homemade basic funnelneck sweater!
Perfect to complement all your outfits!
Don't forget to tag me on Instagram, Facebook, or TikTok with the hashtags #terrifiknits and #TravelerFunnelSweater or # PullTravelerFunnel once you're done, or add this project to your Ravelry list! I can't wait to see your version!
What you'll need
Knitting pattern : download the instructions by clicking on the button below
Traveler Funnel Sweater Terrifiknits (PDF, 711.74 KB)
All my patterns are available for free.
So dont forget to show your support by subscribing to any of my social medias !
You'll help increase the visibility of my work...
You're document will be available in
Your file is availableDownload
Yarn used : Ecopuno, Color Olive (54), Lana Grossa
There is no comment yet.
Add a comment